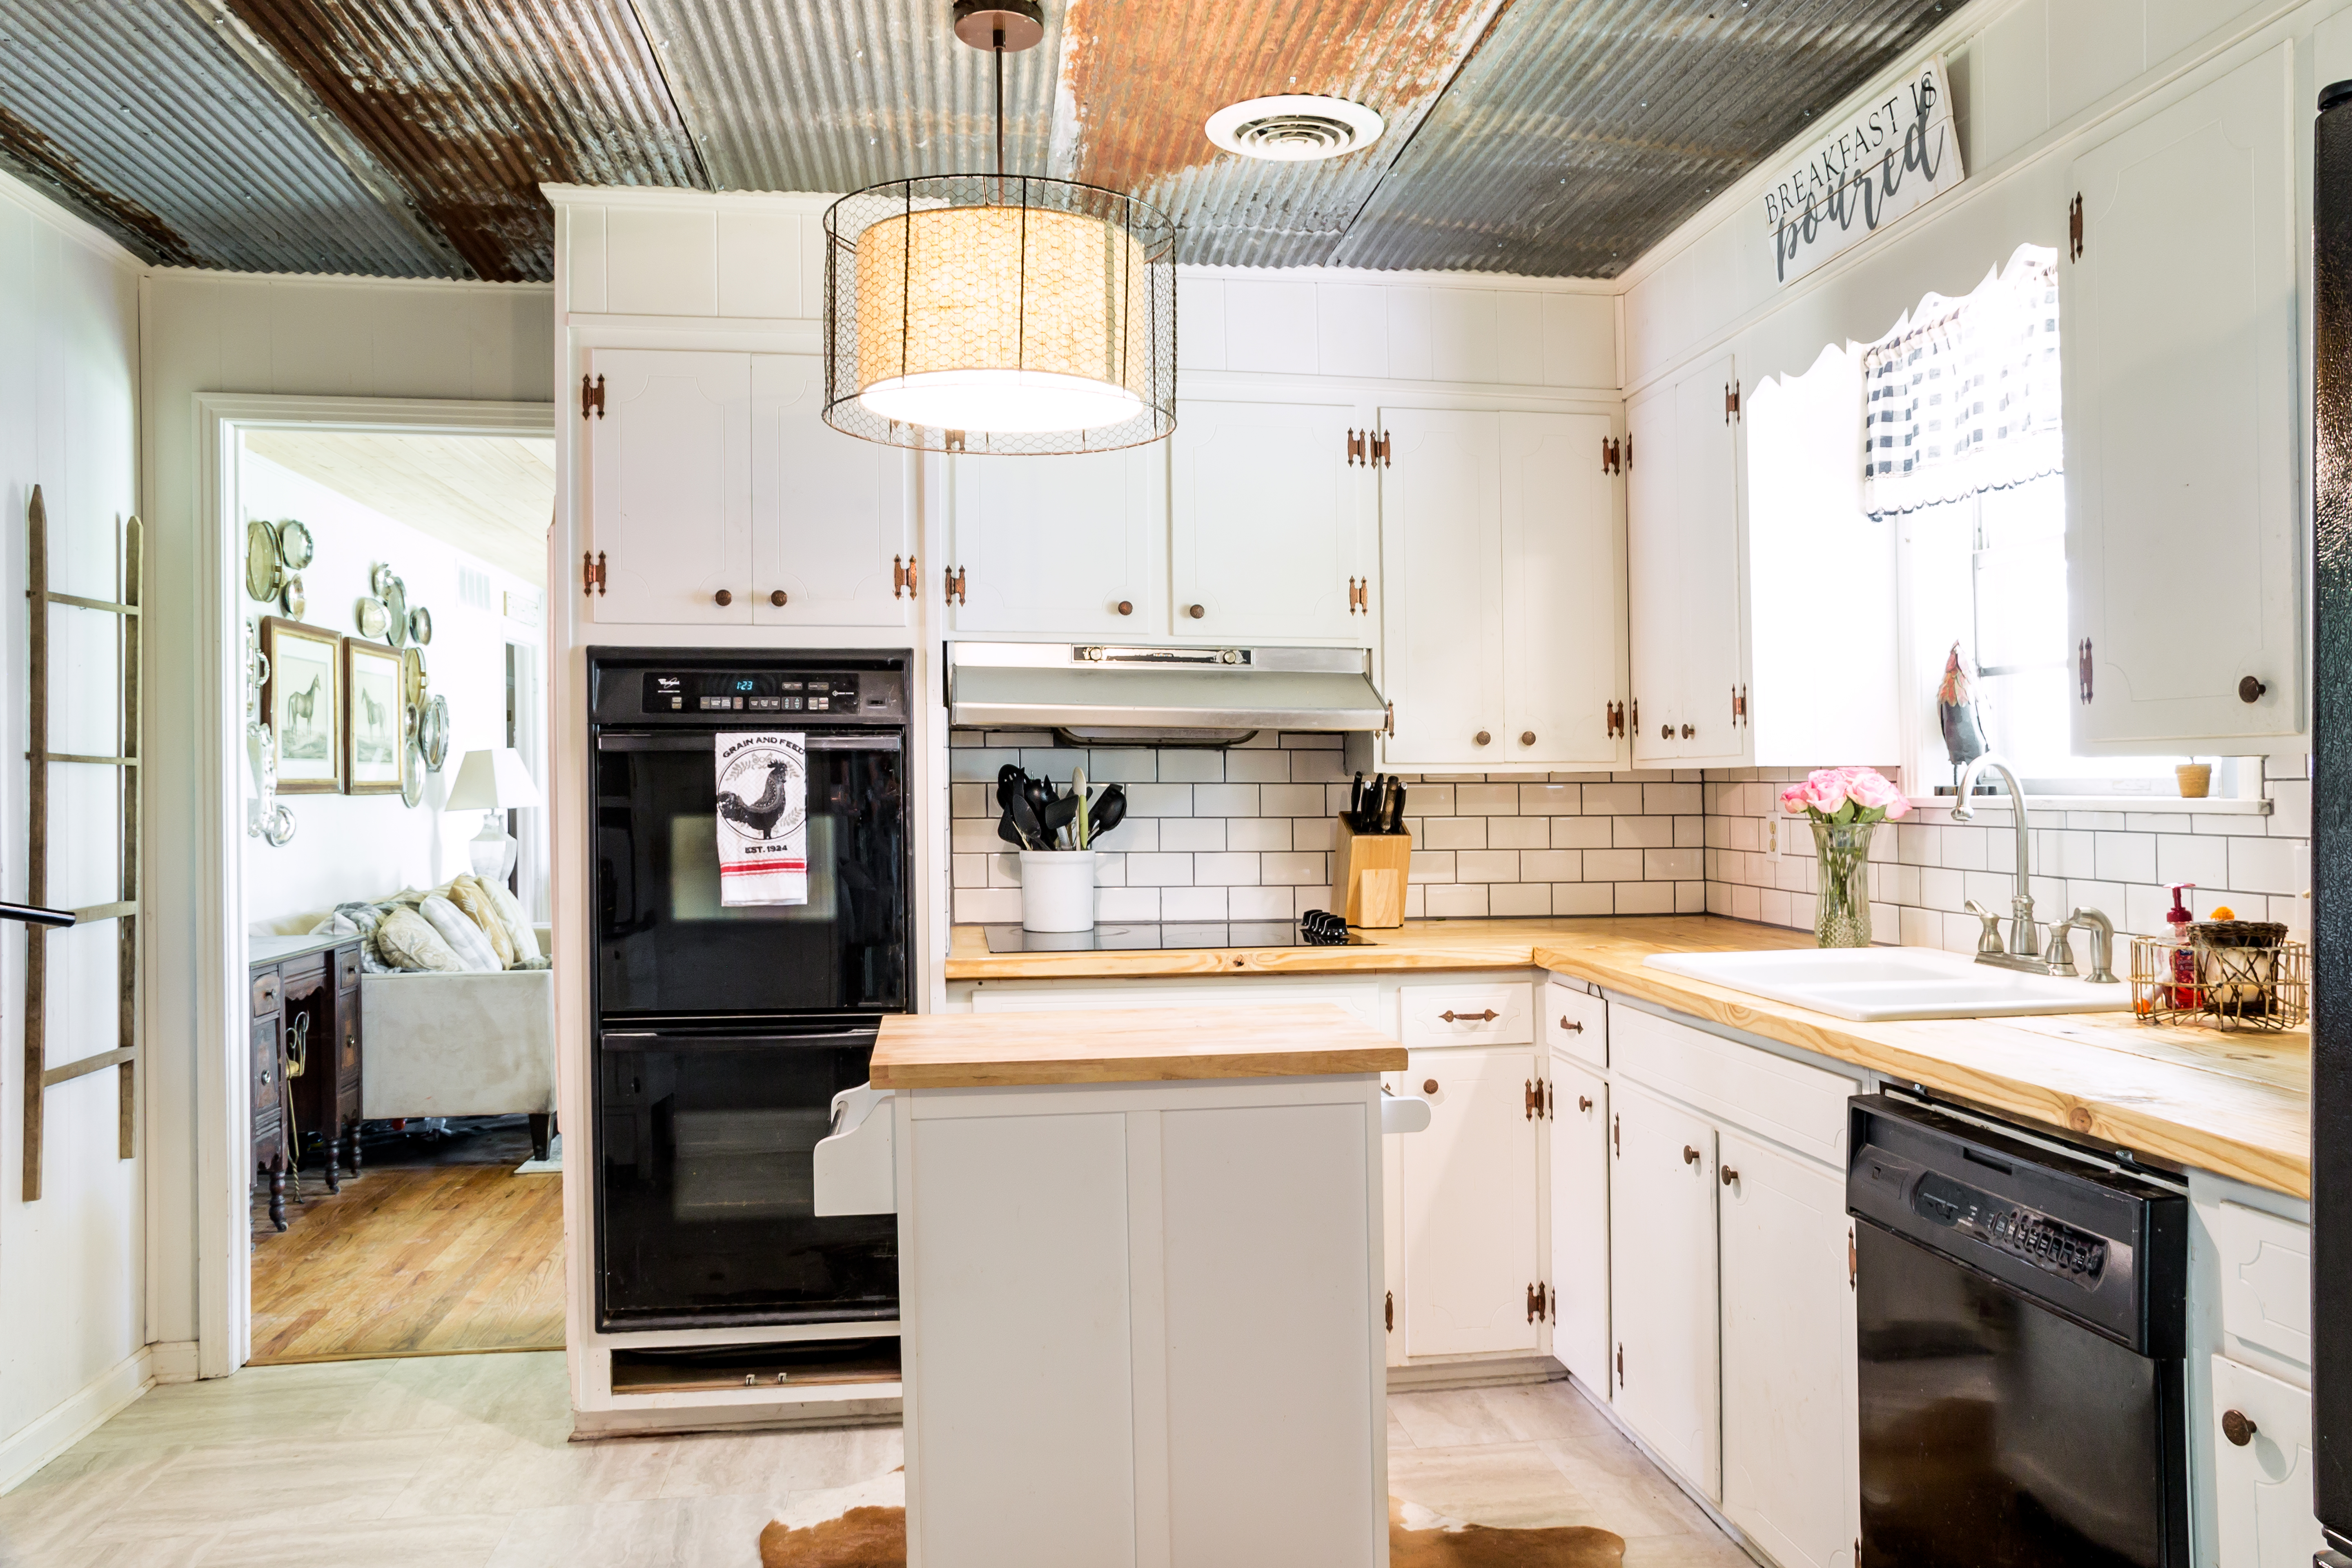
Several years ago, I found a tutorial on Pinterest showing how to take regular lumber and use it for countertops. I remember showing it to my husband, and as usual, he thought it was a stupid, crazy idea that I had come up with just to save a few bucks, because that is how I roll. ? Luckily, I talked him into it and it has been our go-to for countertop surfaces ever since! It is seriously the easiest thing everrrrrr…
1. Measure your countertops. The typical depth of a counter surface is 25″ which allows for a 1″ overhang for he standard depth 24″ base cabinets. We found that (2) 2×10’s and (1) 2×8 work pretty well. I know what you are thinking: Tootie, can you not do simple addition?! That is 28″… I know, but you have to take into account that a 2×10 is ACTUALLY a 2×9.25 or some ?…
These 3 pieces will actually give you about a 2″ overhang, but it will work fine. Just make sure you measure yours to make sure that they are, in fact, standard.
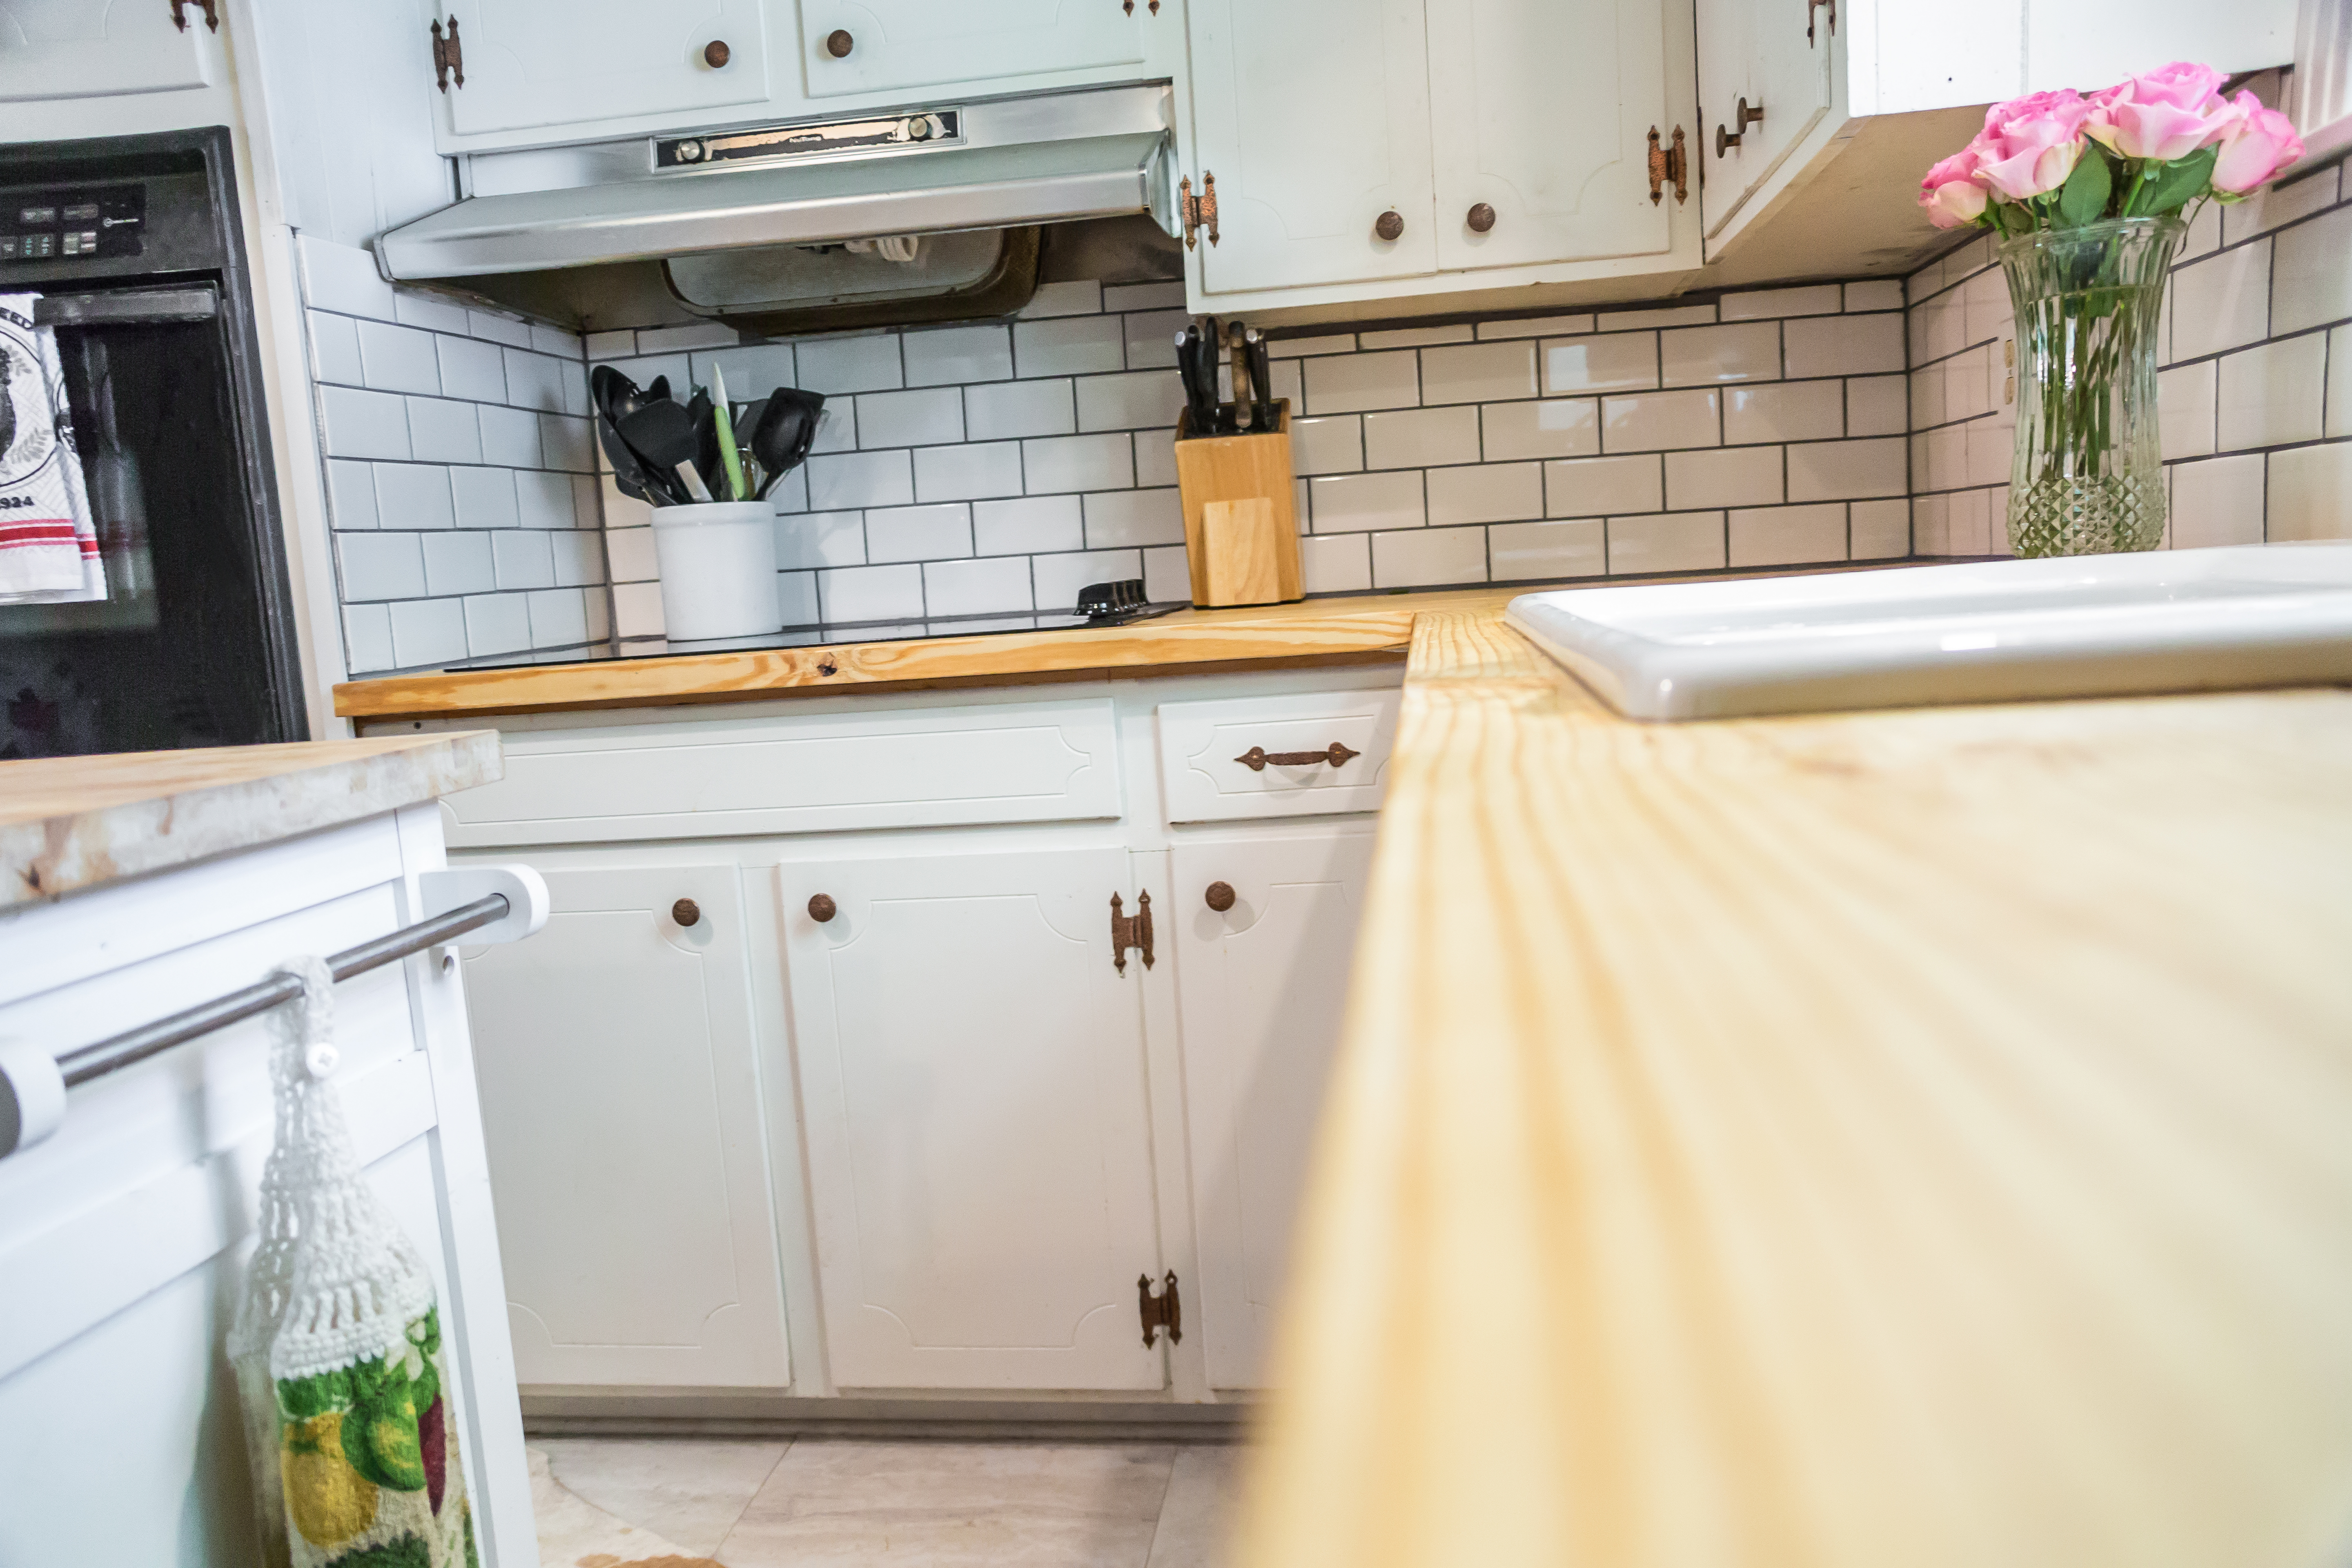
Now that you have your depth figured out, measure your lengths. In our old home, we had a galley kitchen so it was just two straight lines. In our new kitchen, there is a corner and my husband just HAD to mitre it… ? I have to admit, it does look pretty sweet, but I would have been ok with two straight runs as well.
2. Determine the amount of wood you need. These boards come in various lengths, so figure out before you hit the hardware store how you can get the most bang for your buck. For example, it you have a 6 foot run and the 2×10’s come in a 12 foot length, then get one board and cut it in half instead of purchasing two 6 foot boards. The cost will be less!
3. Make your trip to Lowe’s. Or Home Depot or wherever you get your lumber. Make sure your wood is UNTREATED. Remember, this IS a food prep area. ? Also, be sure to check and make sure your board is NOT warped and will lie flat. Grab your wood, along with extra-strength wood glue, clear silicone caulk and Watco Butcher Block sealant, and head back home.
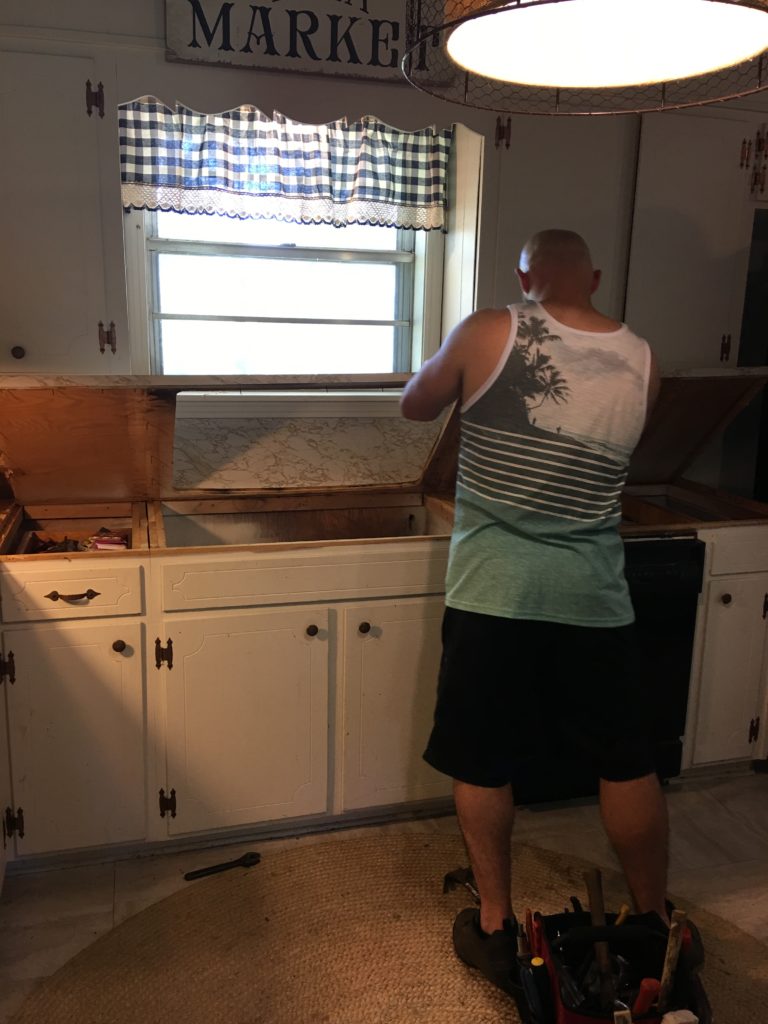
4. Demo Time!! It is important to remember that when removing your old countertops, try and do so as carefully as possible! You will need these old guys to use as templates for the new wood tops!
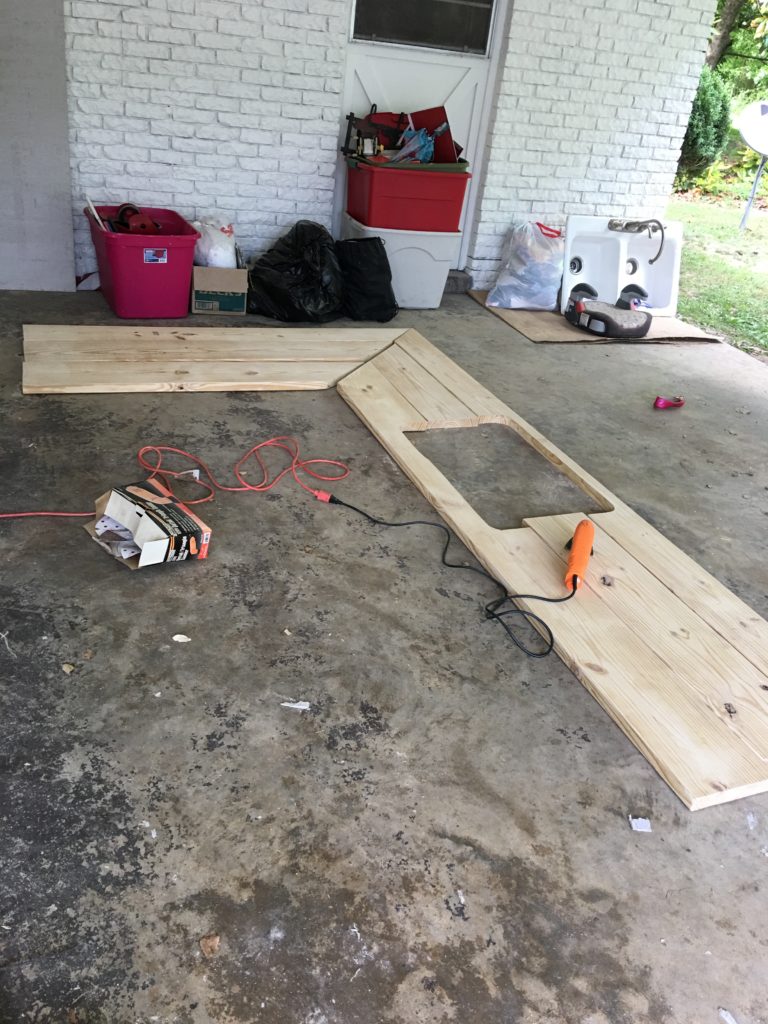
5. Once you have the old tops removed, cut your (2) 2×10’s and your 2×8 to the correct lengths. At this point, you can lay the old tops on the new and trace the holes for the sink and cooktop, if necessary. *a mitre saw or circular saw can be used to cut the boards to length, while a jigsaw works best for the sink/cooktop cuts.
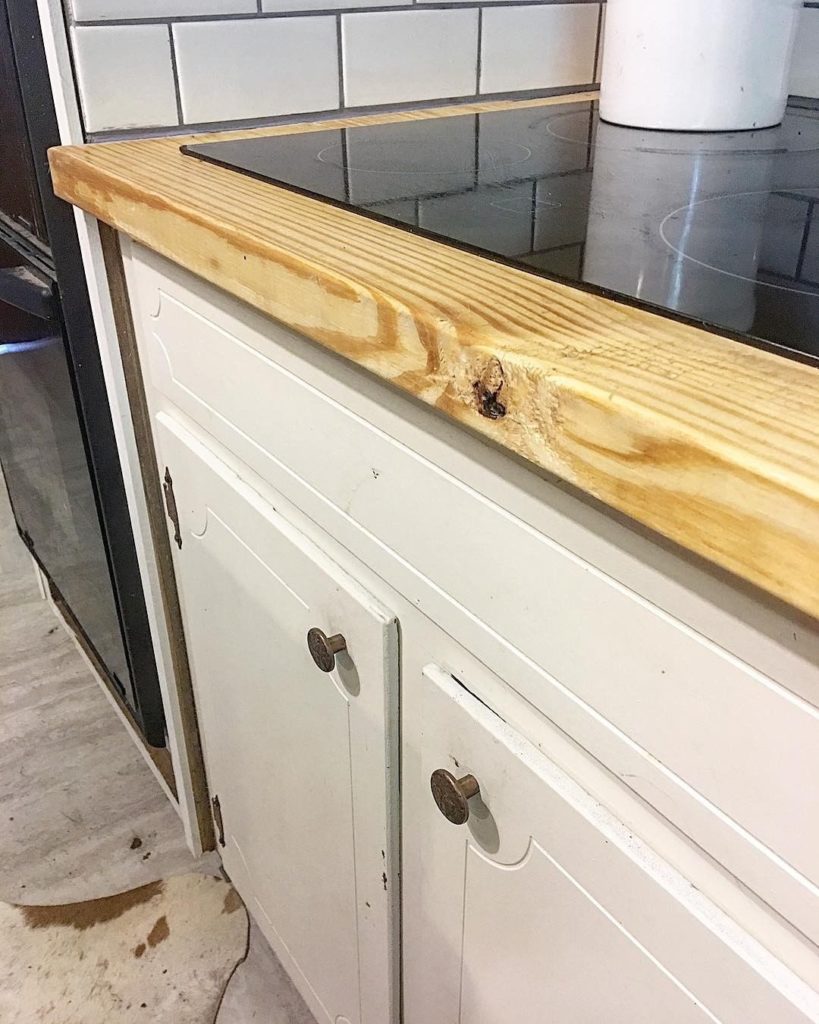
6. You have all your cuts made! Great job! ??It is now time to give your boards a good sanding. I like to round the corners and give them a very finished look!
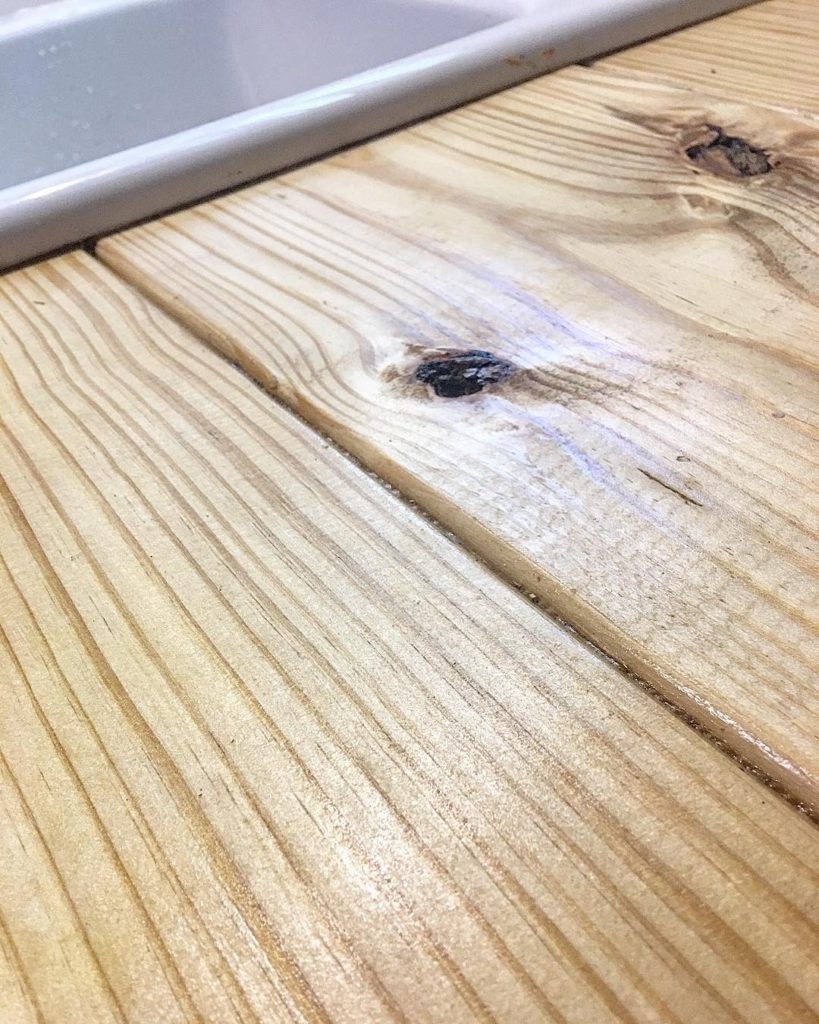
7. I am sure you think I am absolutely crazy when I say to glue the new tops down, but that is EXACTLY what you do. Apply your heavy-duty wood glue geneourously to the top edges of the base cabinets and place your new tops.
8. In order to ensure that the tops bond well, we cover them with towels and set heavy objects on top. This should be allowed to set for at least 24 hours.
9. This is where you use the silicone caulk. There will be a small valley where each board meets. In order to prevent this from being a food trap, simply run a line of clear caulk to “bridge the gap”. Another option for this step would be to fill the gap with wood putty and sand to make the tops smooth. This option would require staining the top and would create a more solid appearance. We decided to simply seal ours because I love the natural wood color and grain.
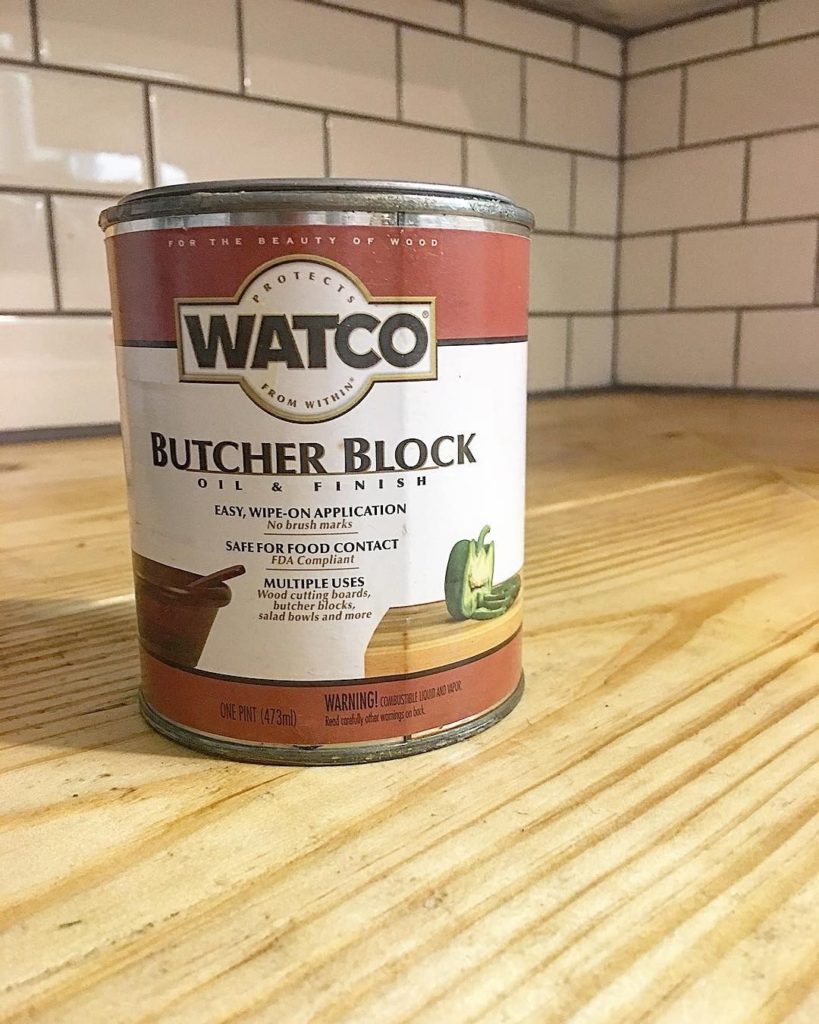
10. Seal the tops. We use Watco Butcher Block sealant because it is safe for food surfaces. We applied 3 coats.
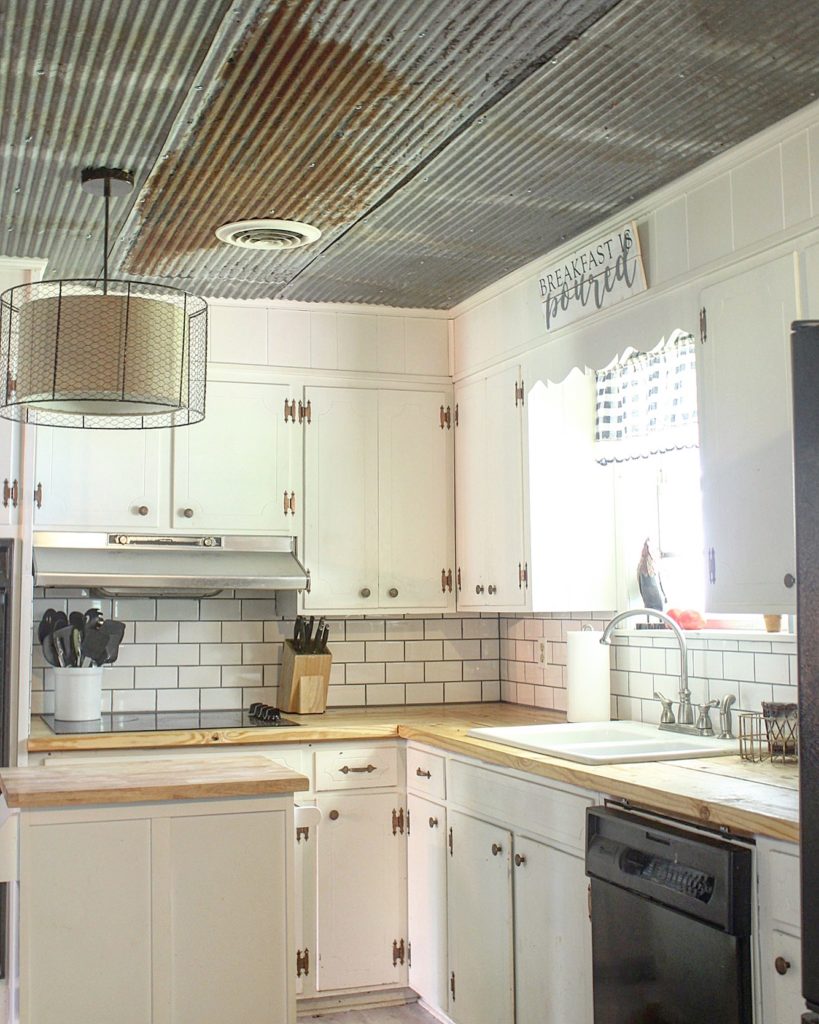
11. FINALLY, re-install your sink and cooktop. Step back and pat yourself on the back! ?? You just installed new wood countertops for under $100!!
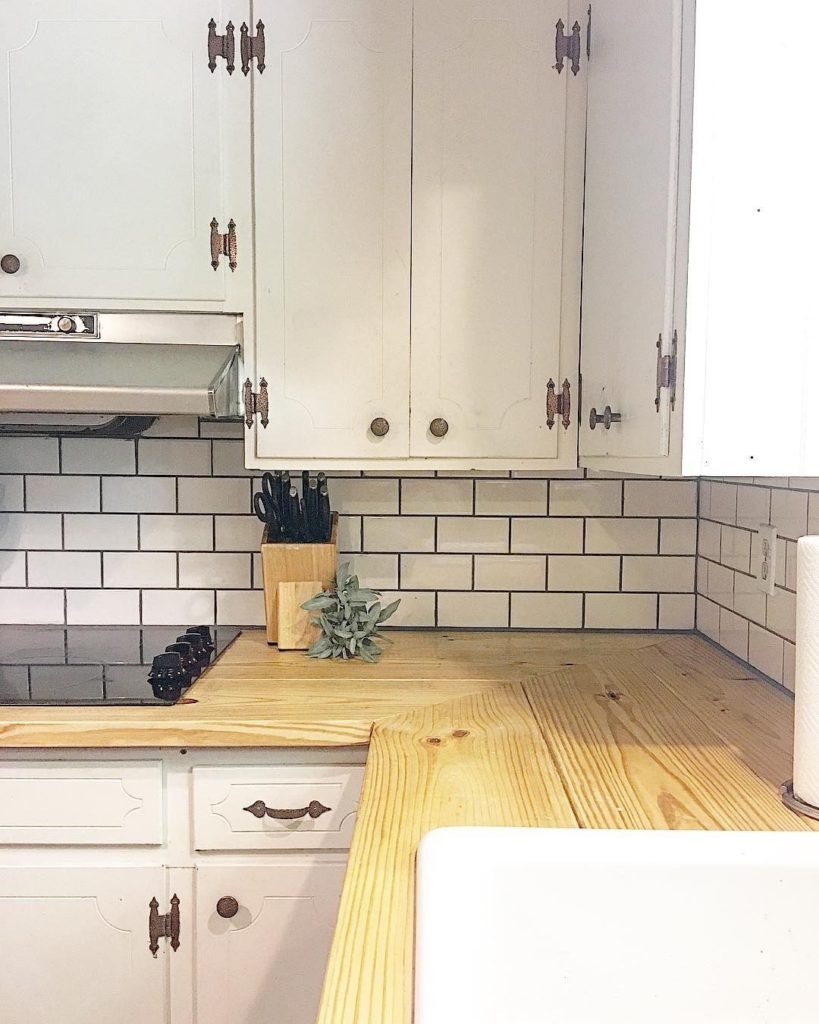



I love them. I want to do it to my kitchen. I just have one question, did you install wood strips on top of your cabinets before you put the top on? The reason I ask is, I live in a manufactured home and my dish washer broke away from my current counter top and I don’t see a way to attach it to the new one.
There may be areas where you will need to add additional support underneath which can be done with 2×4’s. Other than that, they just adhere to the top of the cabinets!
This is so amazing! I plan to do this with unfinished walnut (flooring planks) on our island. Over the years it’s taken a Beating and needs an update badly.
Also I love the corrugated tin on your ceiling! All of your finishes make your kitchen so inviting!
Thanks!
Maggie
Thank you so much!
Hi
How often do you need to reseal the butcher block?
Each year!
Love the butcher block. My husband and i are thinking of trying this. Do the boards maintain their even look and not warp? does the glue help with that or is it type of wood? Two real novices here.
Many thanks
Audrey
It is important to get boards that are as straight as possible from the get go. Then the glue will help them even out. Once they are set and sealed, we have had no problem with warping at all.
Did you also put glue between each plank? I love this look!
Nope, just underneath each board!
I have a husband like yours he doesn’t want to try anything I see. Your contour tops are what I have been wanting for the last year.
Hopefully he will let you go for it!!
Why are husbands like that…lol! I have one too, but usually he comes around!!! Haha…love the tin ceiling and counters.
Wow! amazing! I’m a diy chick as well. been looking for an EAsy and inexpensive wood counter option and i think i found it in this!!!! i see you have only had it for a few months, but have a few questions: so, just glued down and Not screwed down anywhere? how is the warping situation… Have you had any warping? also, how is the seam with silicone working out? Is it turning sticky and causing food to gunk it up? have you had to recaulk yet? when i do this, i want to do the vinegar/steel wool stain thing, then put the butcher block sealant over the top. (fyi: not sure why my keyboard isn’t letting me capitalize anything, hence the lowercase everythinG) thanks for posting!
I love your ceiling light! Is it a DIY or a purchase? If it’s DIY, please share how you did it! Thanks.
I just came here to say, hello my sprit animal!
“As usual, he thought it was a stupid, crazy idea that I had come up with just to save a few bucks, because that is how I roll.” Ok, minus saying the actual word “stupid” (because my husband my husband only infers that with silence and raised eyebrows! lol) this is my world!
Stay bold, my sister! 🙂 stay courageous and creative ! Love it ! (I did “fake wood plank” floor on our plywood bedroom floor against all societal norms. And it is awesome !)