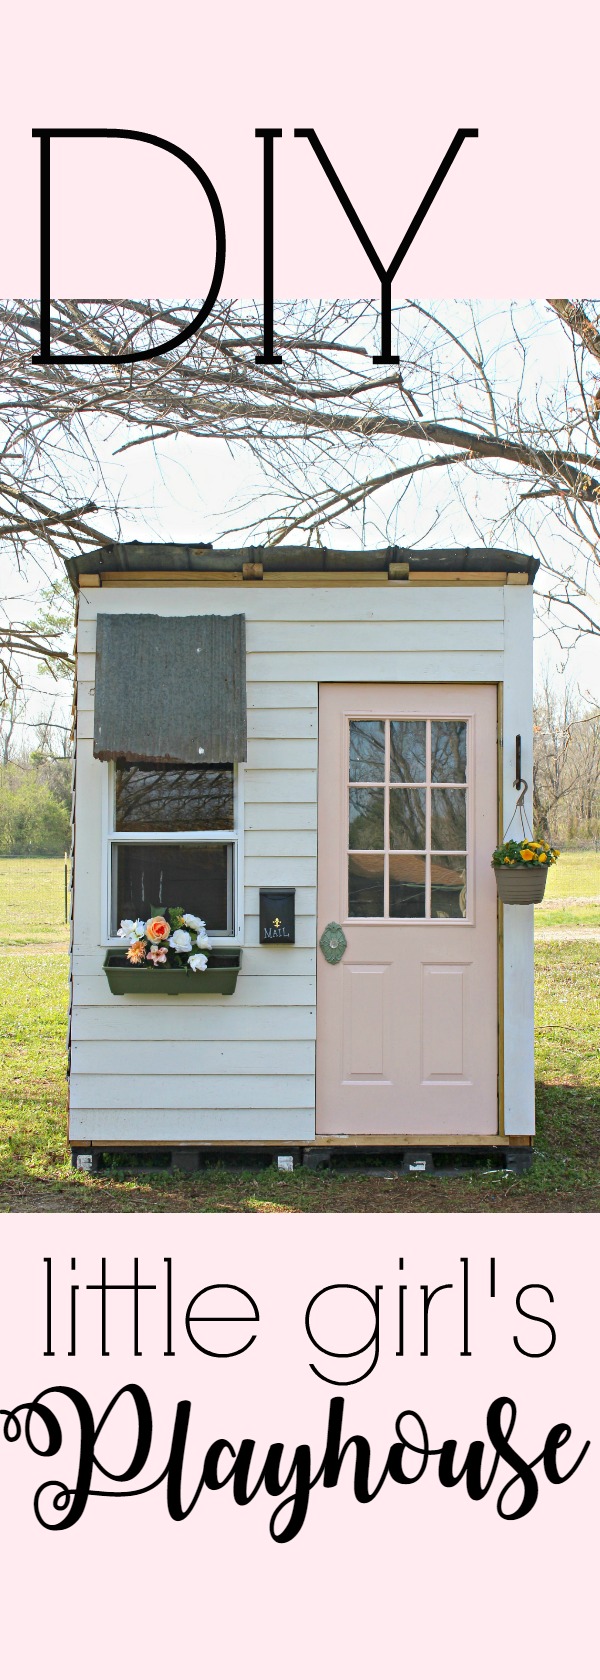
Now, I am going to begin this post with this disclaimer: I am NOT a contractor! I have never built anything in my life other than a little goat house, which surprisingly, is still standing…
When I decided that I was just going to tackle the playhouse myself because I couldn’t get the Mr. on board, I first went to Pinterest. And although there are some AMAZING playhouses on there, I knew my limits. I knew that I have no idea how to pitch a roof. I also knew that some of these construction methods required a lot more materials than I had on hand and I was on a BUDGET! If I wasn’t, I would have just bought that gorgeous playhouse at the Derksen place for almost 3k!
So I did what I do best. I improvised and worked out my own plans and materials list. Now, my husband would like to emphasize that my way does NOT mean it is the right way… I understand that. Not every angle may be perfectly square and I may have stripped like 12 drill bits in the process, but it was built with love. Lots and lots of love…
So lets get to it! Really the kick start of this occurred to me when I realized I could use these pallets as a base. They are plastic, so they won’t rot and are reinforced with metal. I saw them and I thought, “These would be PERFECT for the foundation for the playhouse!” If you do not have access to something like this, I would suggest that you look further into how to do the base. You cannot sit wood directly on the ground or it will rot. It will need to be framed out and elevated using cinder blocks or something similar. Once again: I have a limited knowledge of construction and I knew the plastic pallets were something I could work with and be able to handle by myself.
I got 4 pallets and placed them together where I wanted the playhouse to sit, making a 6×8 foundation and I began framing on top of it. I knew that I wanted a sloped roof because it made sense in my brain! That meant the front of the playhouse would need to be 8′ tall and the back wall would be 6′ creating the slope needed for rain to run off. I used the 2×4’s that I had lying around, but if I had to guess how many you would need if you were going to build your own tiny cottage, I would recommend purchasing roughly 30 untreated 2x4s from your local hardware store.
Unfortunately, I cannot give you exact measurements because I would measure and cut as I went along, but here is a rough idea of how the walls were laid out:
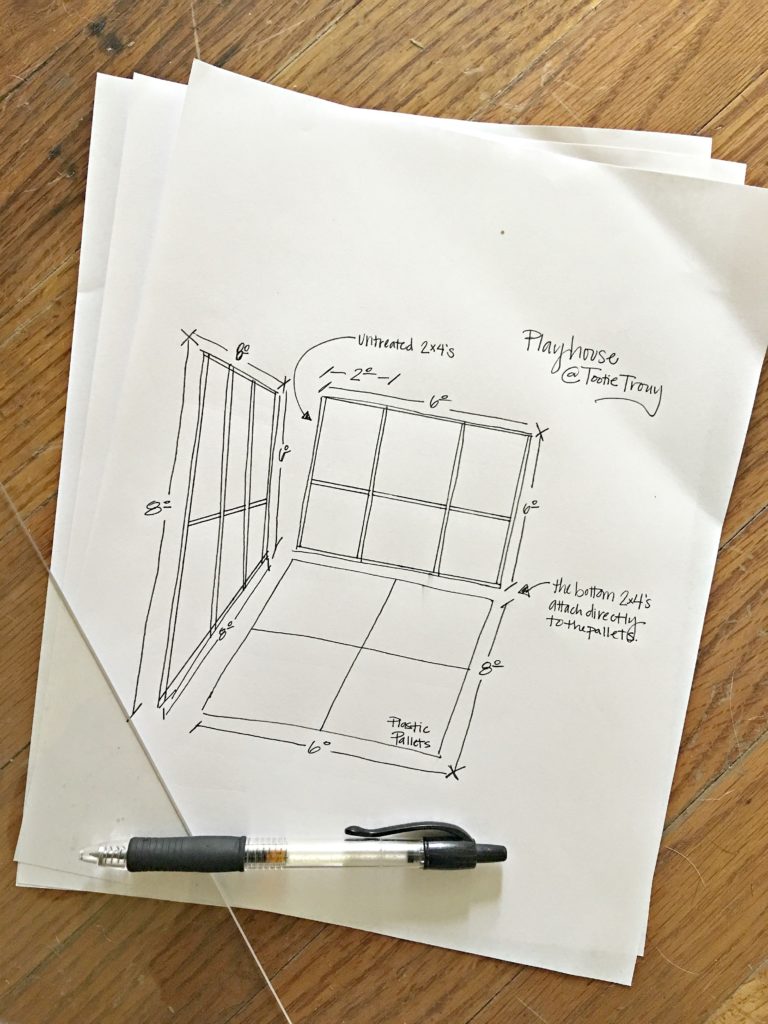
The side walls were pretty simple, but the front took a little more thought considering there would be a door and a window in it. Because this is a work as you go project, you will need to have already secured the door and window you plan to use. I got the 6 pane door off of our neighborhood site for $20 and the window is from Lowe’s. It is there builder grade base window and cost about $50. It was meant to be a horizontal sliding window, but I turned it on it’s side so that the girls could play “drive-thru”, which was very important to them and got me to thinking that maybe we eat entirely too much fast food…
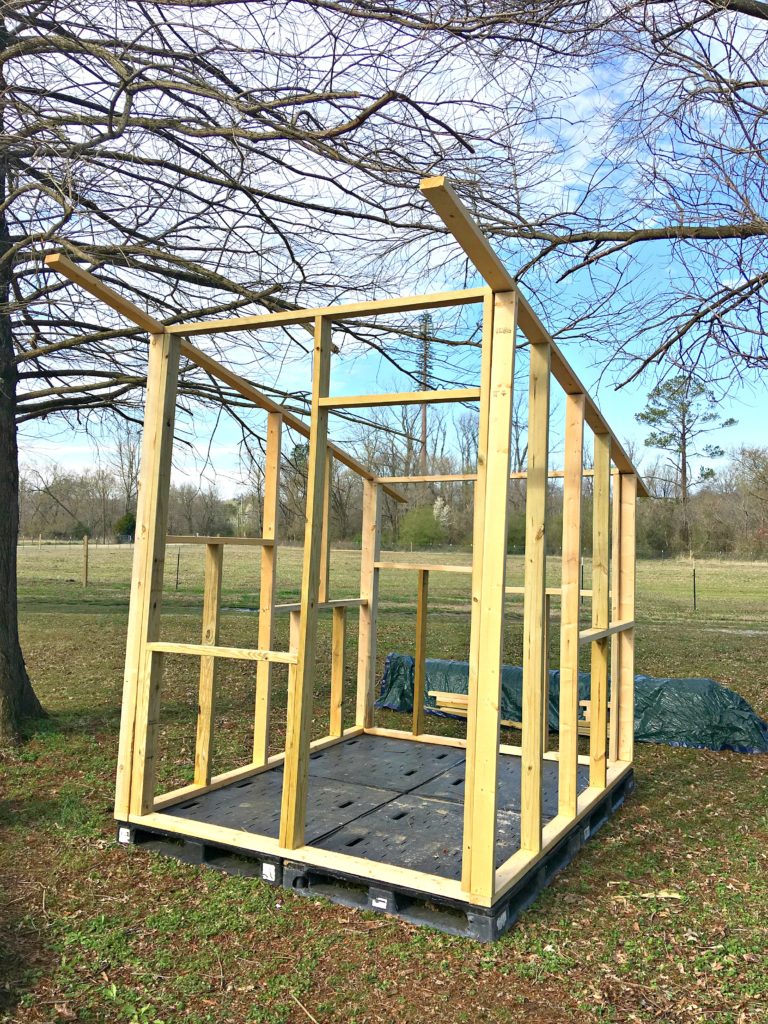
At this point in the construction, everything was framed and ready for the siding. Like I mentioned earlier, the front is tricky because of the window and the door. It should be 8 feet tall to give you that sloping roof to the back wall, which is only 6 feet tall. My process was to build the walls on their own, then to stand them up and screw them into the plastic pallet base, using 2 inch exterior screws, eventually securing them to each other once they were all standing. I am only 5’3″ tall and I was able to manage this by myself!
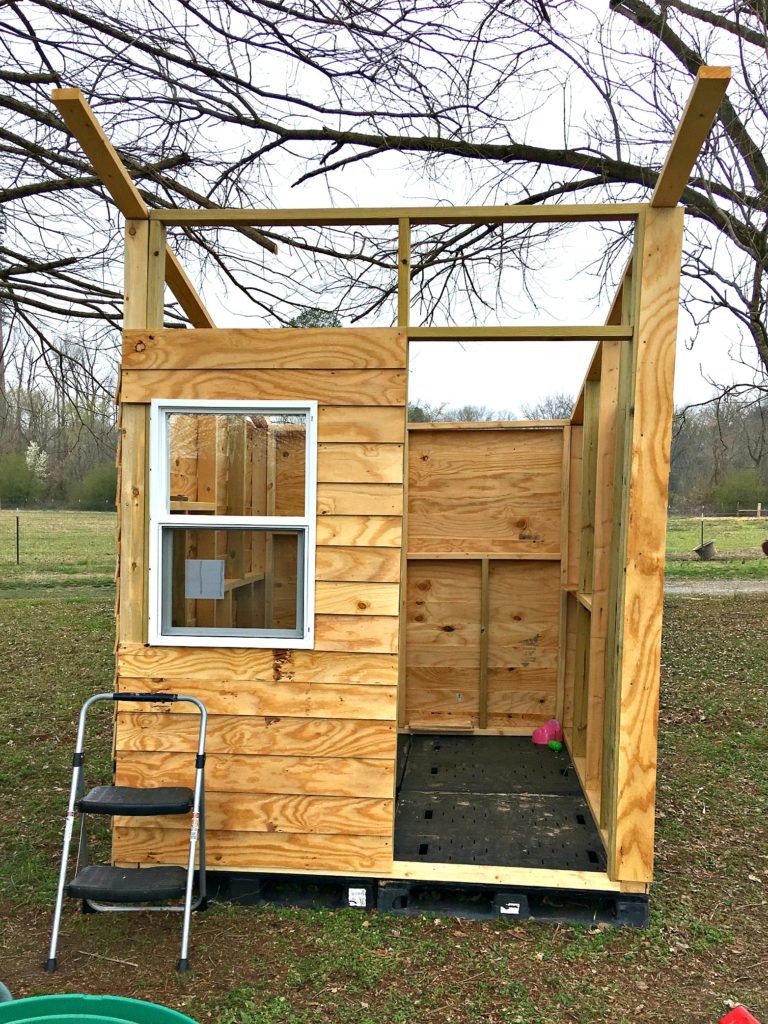
Siding is expensive. Let me tell you. I have priced every single product available to be used at siding that Lowe’s has to offer. My first plan of attack was to shiplap the whole thing. Can you imagine?! I had seen online that many people have used plywood cut down to imitate shiplap and the numbers actually wound up being right within budget.
I seriously wish ya’ll could have seen the look on the Lowe’s guys face when I told him that I wanted him to rip 10 pieces of plywood into 6 inch strips!! It took him roughly an hour! If you did not know that this could be done, you can request at your local Lowe’s that the lumber you are purchasing be cut down on their huge saw. It costs you NOTHING extra and makes the job 10x faster once you get the product home! The sheets of plywood I picked up were 8′ x 4′ and cost $13 each. I got 10 sheets ripped down to 8′ x 6″ shiplap strips resulting in 320 sf of material for $130!!!
However, when I began to shiplap the playhouse it quickly became evident to me that it was not going to work. There were slivers between each plank and lets be honest, those sideways rains would get right in there! I would not be defeated though! I simply overlapped each strip by about 1/2 an inch and gave our little tiny house more of a traditional siding look. The 10 sheets I purchased gave me enough to side the entire exterior, plank the floor inside and to shiplap the back 6’x6′ wall. If you would want to shiplap the entire interior, I would recommend buying 3-4 more sheets ripped down.
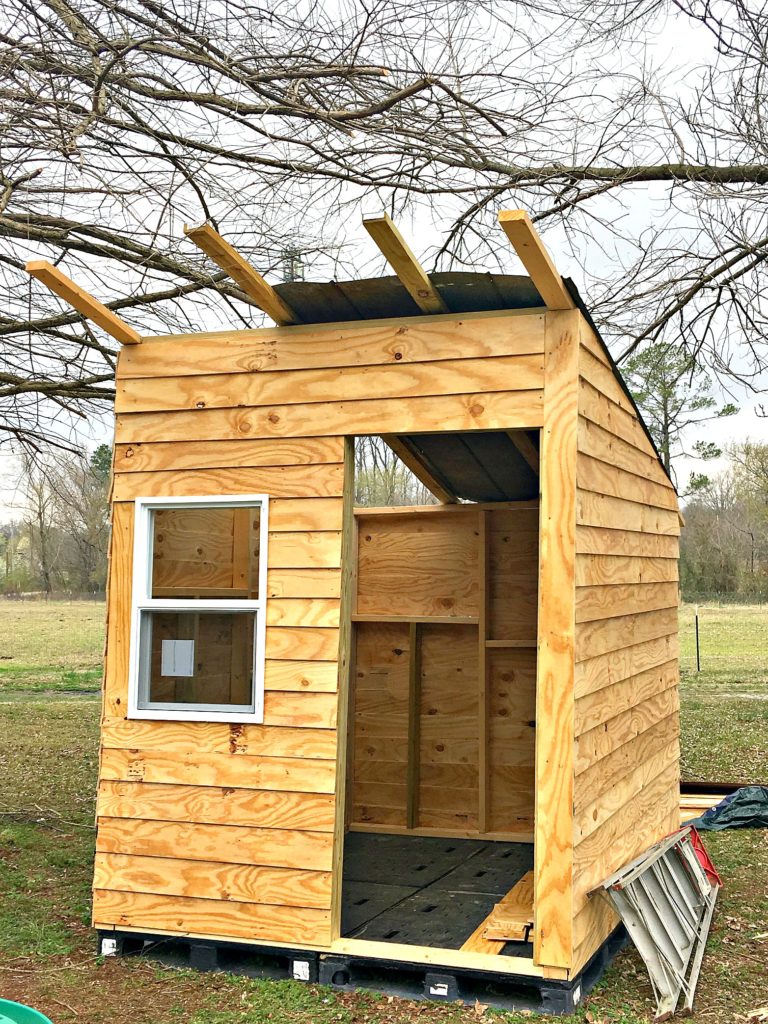
I must admit that the roof was something I needed my husband’s help with. After almost falling off the ladder multiple times, he stepped in to help me get the tin on the roof. We had this rusted tin lying around the farm, so this part cost us nothing, but galvanized tin can be purchased at Lowe’s or any home store and will take 4 sheets to cover this structure. He also helped me hang the door because, let’s face it, there are some things I just CANNOT do on my own!
With the completion of the roof and the hanging of the door, that meant it was time to PAINT! All of us Farmhouse lovers, we are so boring and predictable! Of course I painted it WHITE! I grabbed a gallon of Exterior Satin paint in Sherwin William’s Snowbound. Painting the siding was tricky but luckily, I had top notch help!
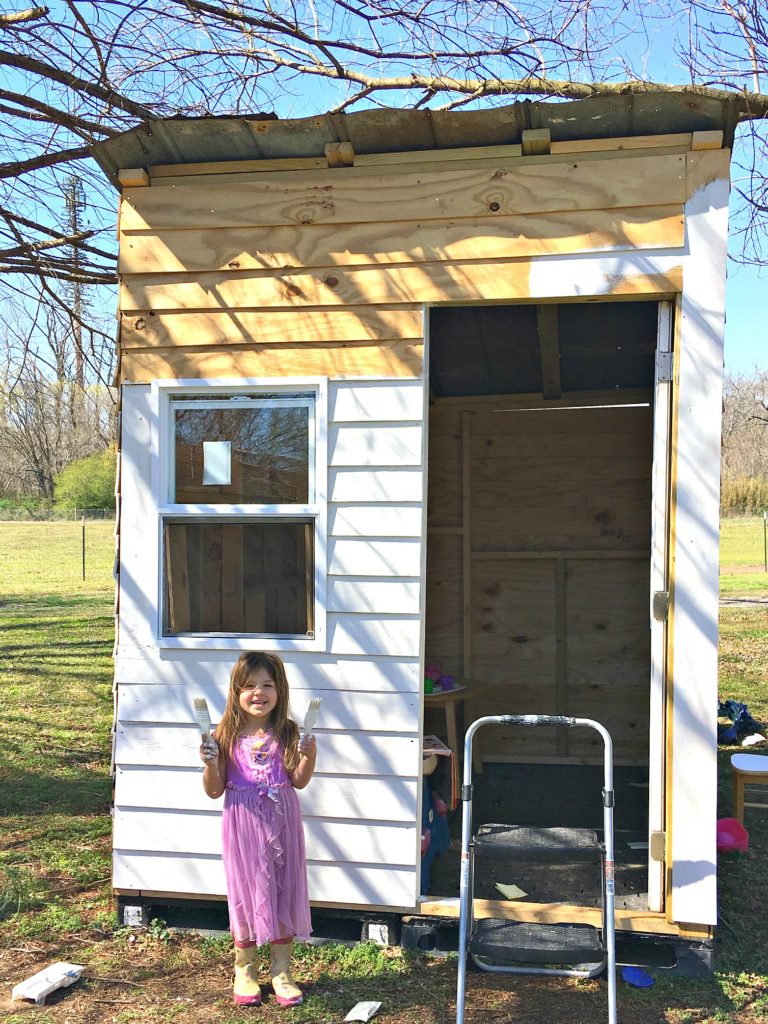
And the DOOR! So many people have commented on the shade of pink that I painted the door. I promise you, it is the most perfect shade of pink. It is this fantastic dusty rose pink and the color is… drumroll please… Sherwin Williams Romance SW6323. Remember if you don’t have a Sherwin Williams store or a Lowe’s near you, any paint place should be able to match so long as you have the name and number. Our door is metal so we used an oil based, anti-rust paint. However, if you are using a wooden door, exterior paint should be fine. Just keep in mind that the door may swell based on the weather.

The final materials list looks like this:
- Mitre Saw
- Drill
- Box of 2″ Exterior Screws
- 30 untreated 2×4’s
- 10-14 8’x4′ sheets of plywood ripped into 6″ strips
- Door
- Window
- 4 sheets of galvanized tin
- 1 gallon Exterior satin paint
- 1 quart Oil based anti-rust paint for metal door
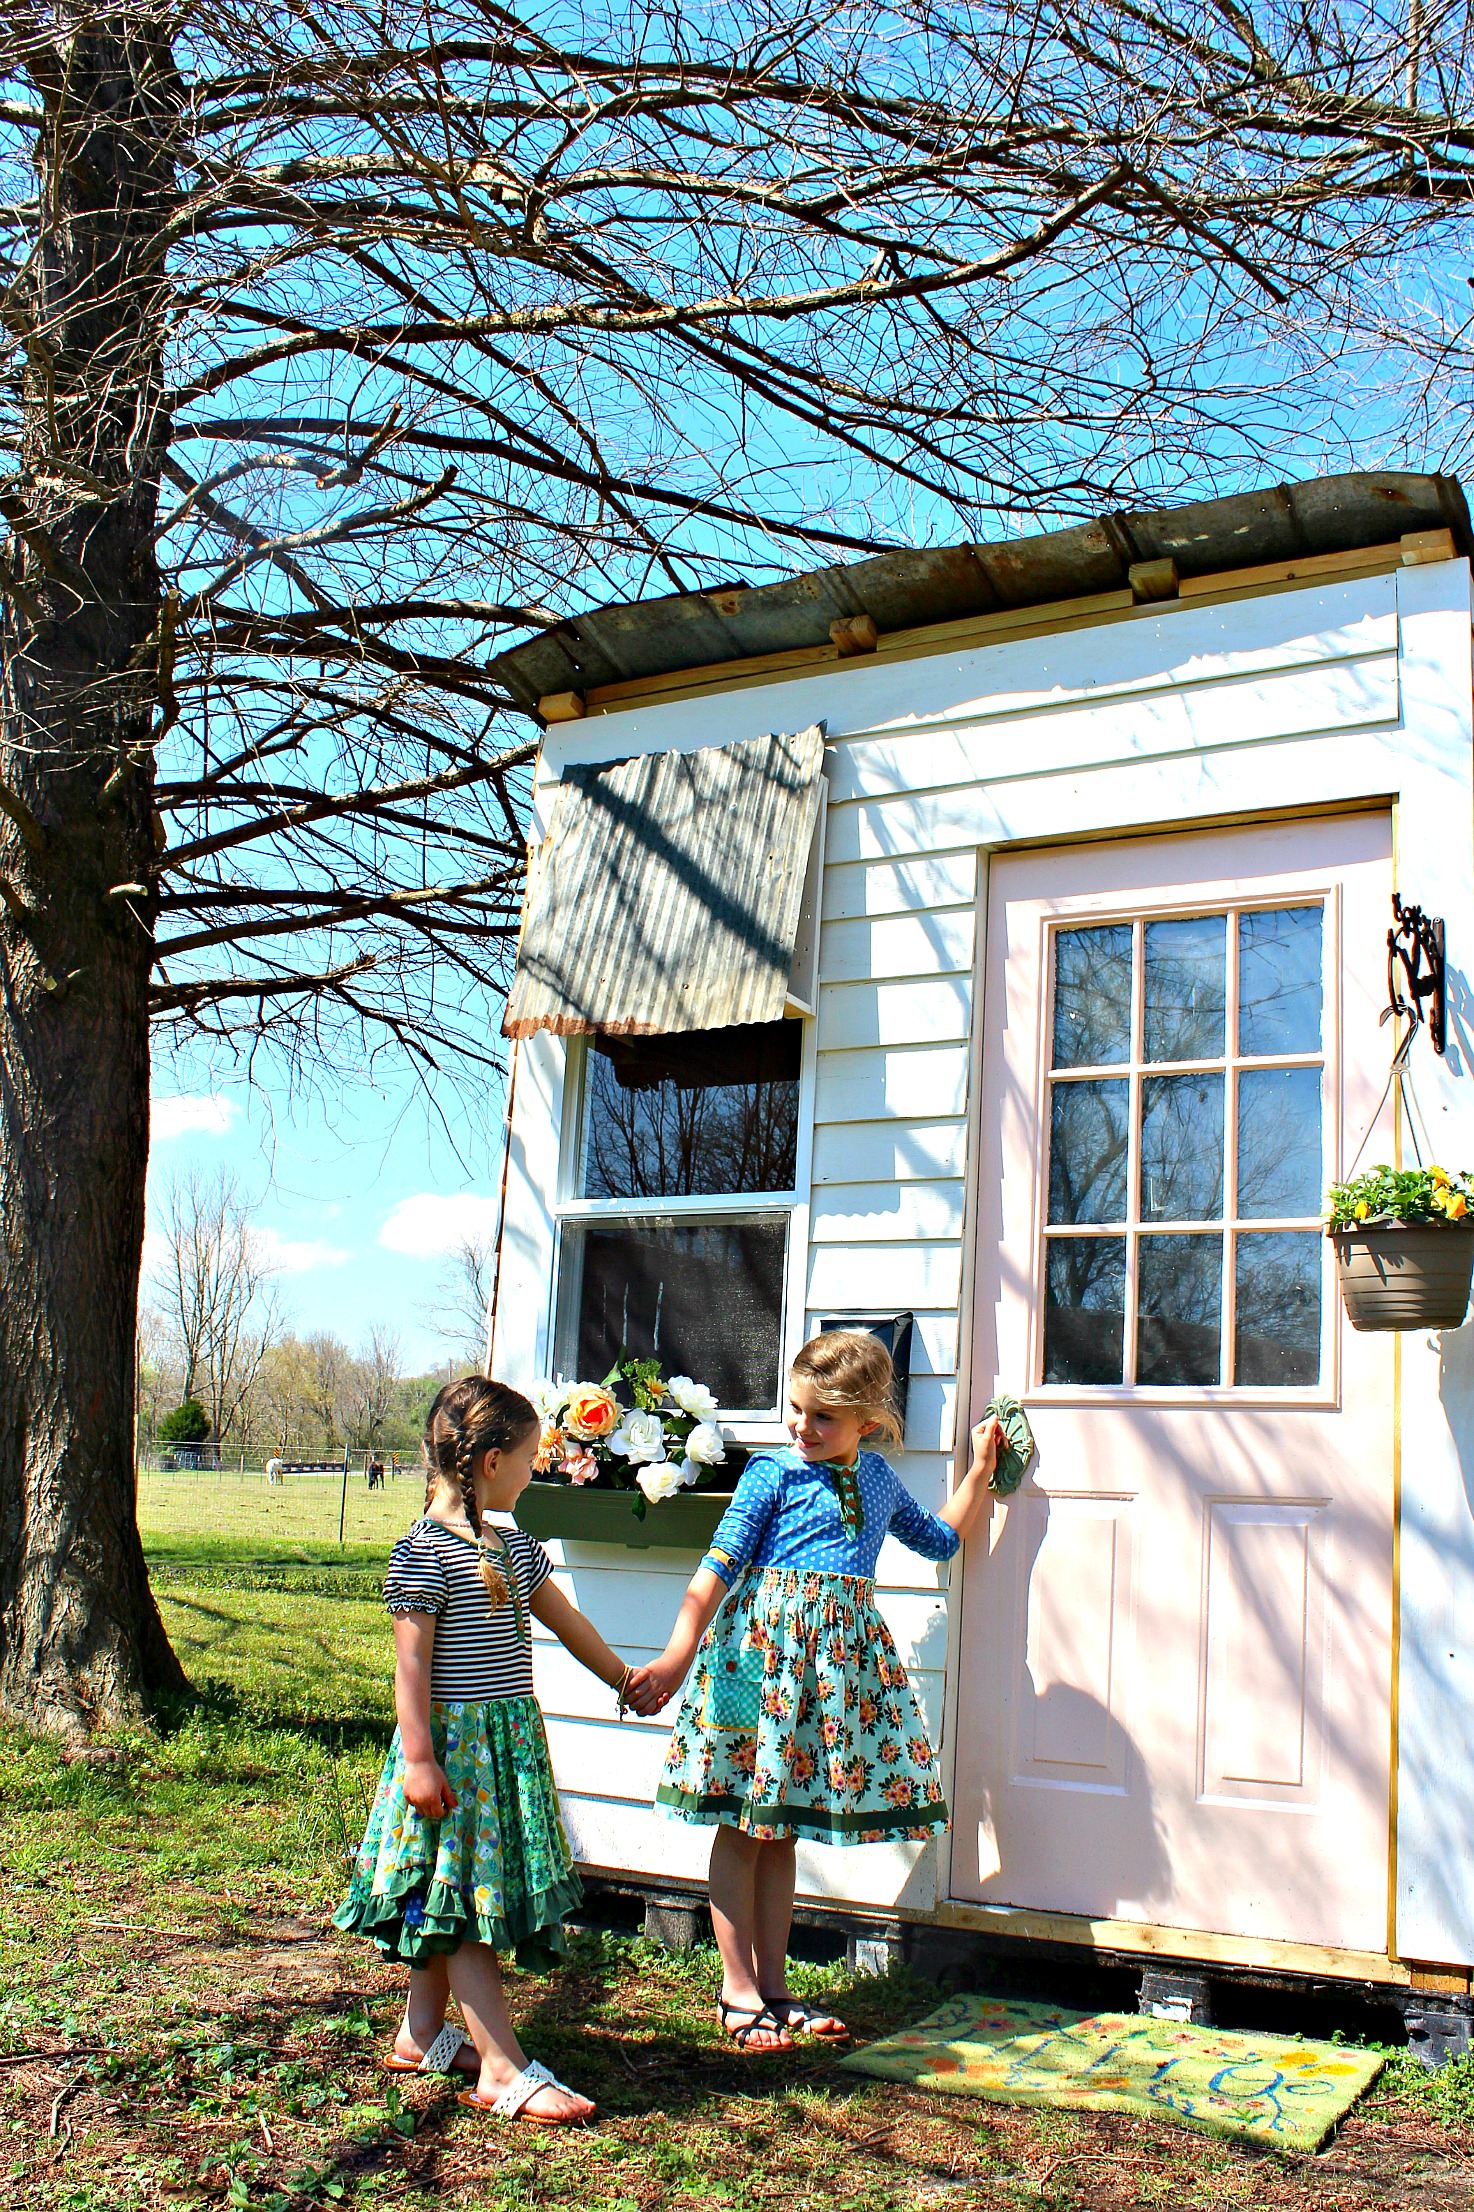
So there it is!! The Trouy Farm Playhouse has brought SO much joy to our girls and truthfully, to Momma and Daddy too! The joy on their faces puts smiles in our hearts. It doesn’t look too shabby sitting in the yard either! Look for The Playhouse: Decor to be posted later this week!


The play house is completely adorable- I thank you for all your precise directions – I am going to try and build a gardener shed using your instructions. It should be basically the same thing. The floor and walls are the hard part and you have given such good ideas for us who have’ limited knowledge’ about building things. Please keep up the good work and share your successes (and failures)
This would work well for a chicken coop as well with a lil bit of redesign for outside hatch hen boxs. easy to clean and I can stand in it to clean it …
Sure! I love a well designed coop!