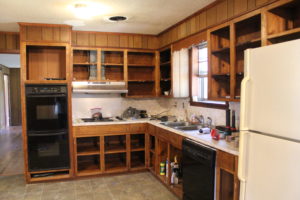
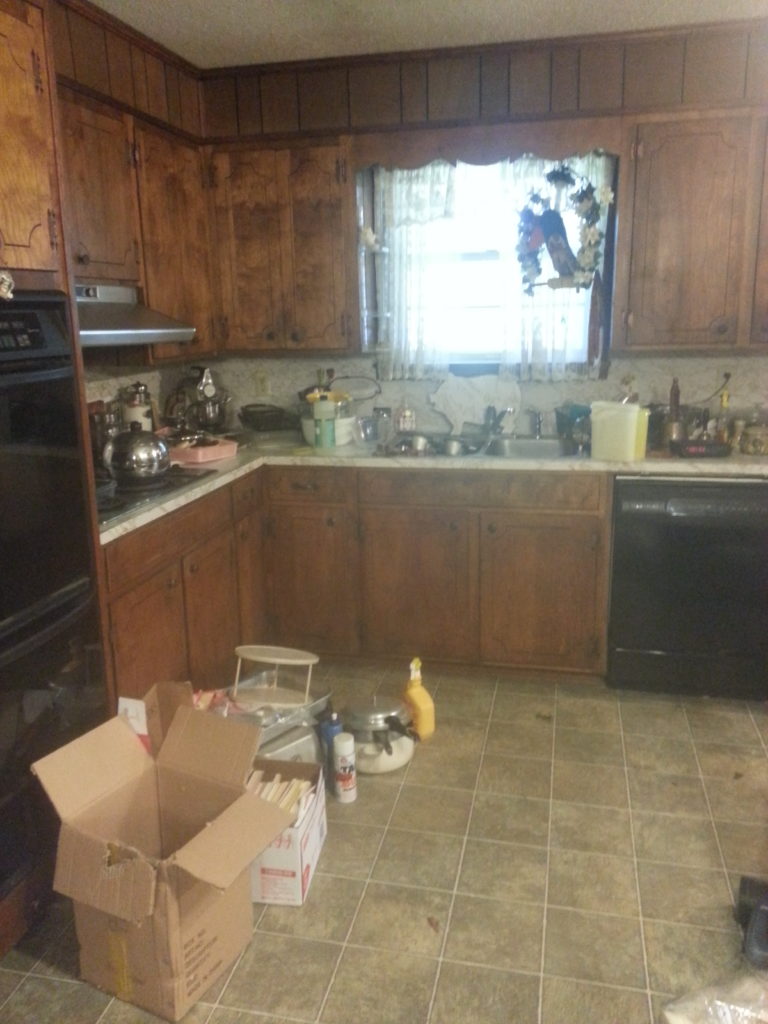
Before
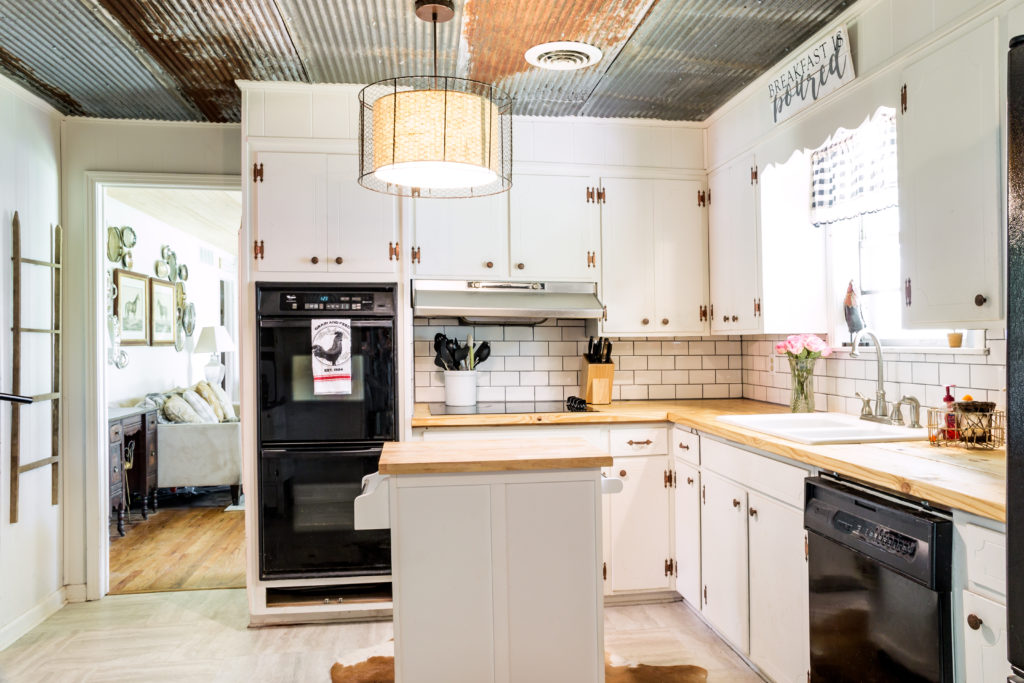
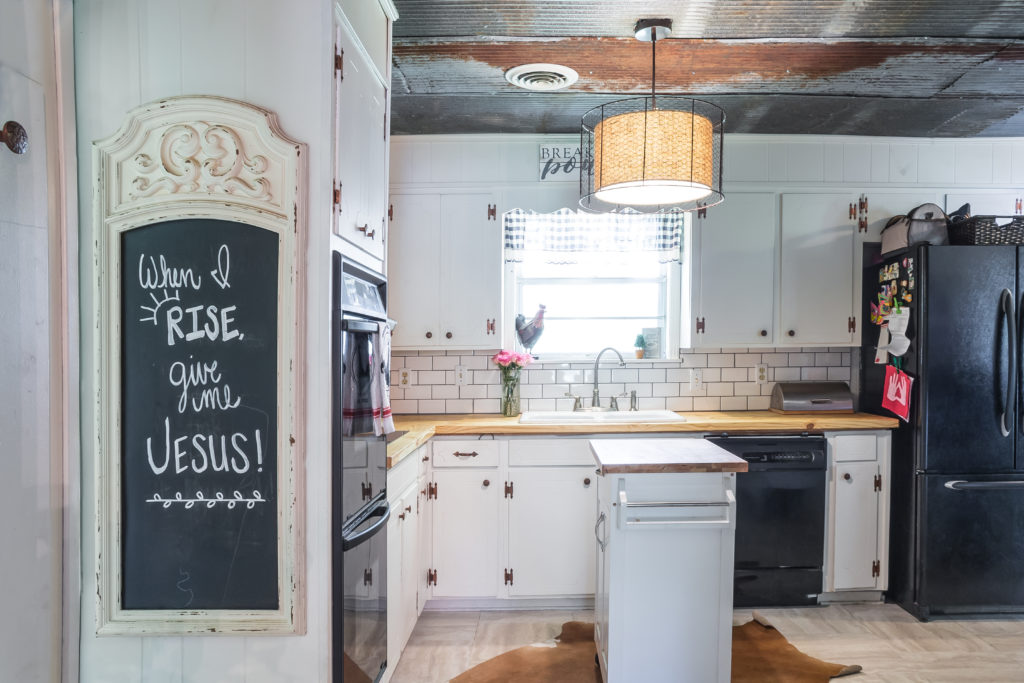
After
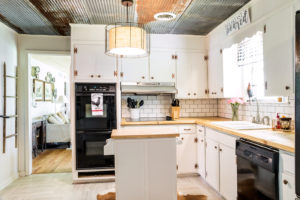
They say the kitchen is the Heart of the Home. Well, if that is true, then when we purchased our new house, our kitchen was in need of open heart surgery!
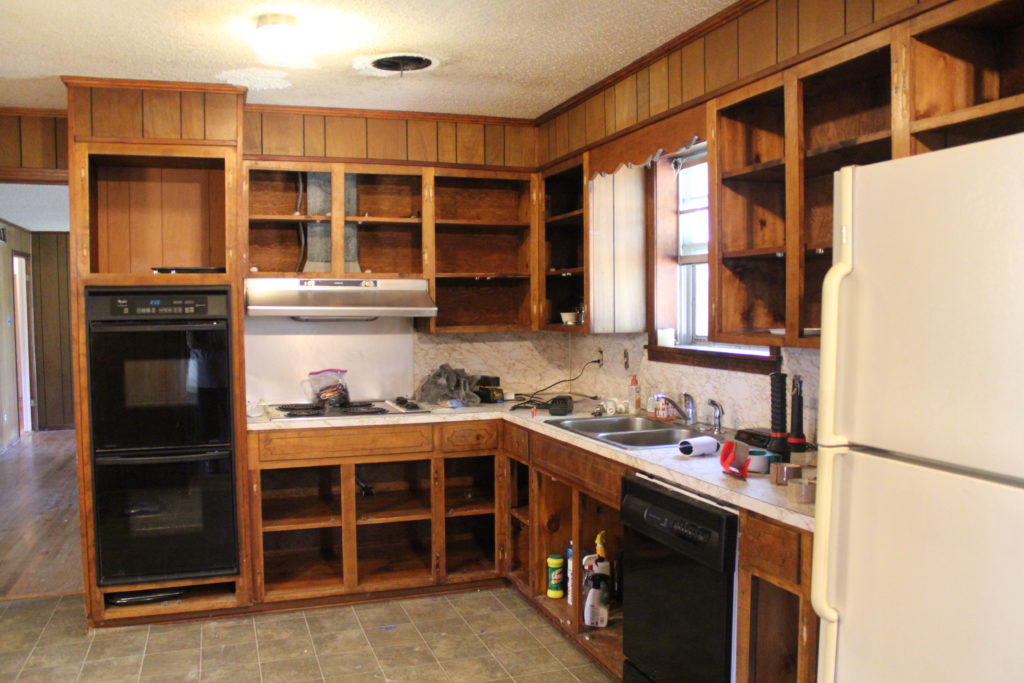
Our entire home was ORIGINAL to 1968. The kitchen had the original dark cabinets with the laminate countertops and backsplash, popcorn ceilings that were stained and falling off in places, all on lovely vinyl flooring. I mean…
We knew that we did NOT have the money for a complete overhaul of the kitchen. The cabinets were still in great shape and I could see the potential. The room was a good space and I liked the flow. And that was enough for me. We got started renovating before we even moved in.
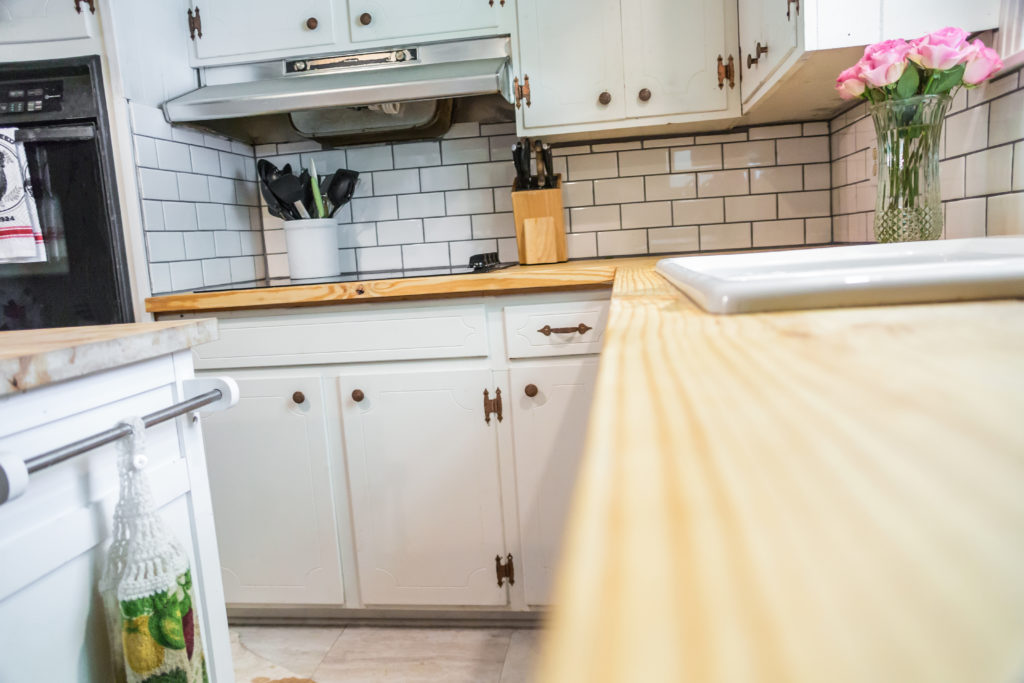
First things first! Paint the cabinets and walls! We removed the doors and hardware so our painter could spray everything. I actually loved the charming exposed hinges, but they were disgusting. They were caked with yearssss of grease and grime. There were many, many hours and lots of elbow grease that went into scrubbing the hardware with a wire brush to bring them back to their original copper finish.
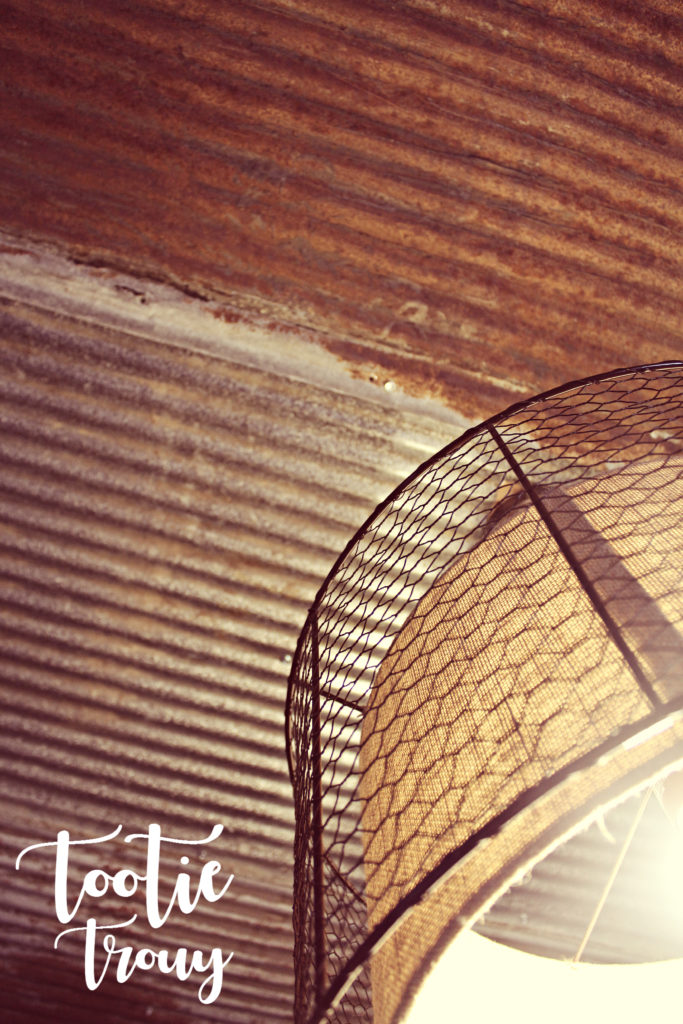
Next, we had to address the ceiling. It was really damaged and stained. We tried to patch the damaged spots and have our painter repaint it, but it looked even worse. I came up with the idea to put old, rusted tin on the ceiling and thankfully, my husband trusts my vision! I will do a more detailed post a little later on the tin ceilings, but they add so much of that rustic, country charm that our 1968 ranch seriously lacked.
When it came to the floors, we chose to do a vinyl tile. They were very, very easy to install, cost-efficient and they are incredibly durable. With lots and lots of little kids and animals, durability is priority #1.
Everything that I have mentioned thus far was done prior to us moving in. We wanted to have as much done as possible on the front end, but we knew that some things, like the backsplash and countertop could be done a little later. A little later actually became a year and a half later!
I knew all along I would do white subway tile. Not only are they very affordable; they are classic. I had originally thought to do white grout (because I love all white errrrrrrthing), but I am so glad that we wound up going with a dark grey grout. The maintenance and cleanability is SOOO much better. As for the countertop, we also knew all along that we would do our faux-butcherblock counters. We had installed these in our first home and we loved them so much, we knew we would do them again! You can find the full tutorial on those bad boys here!
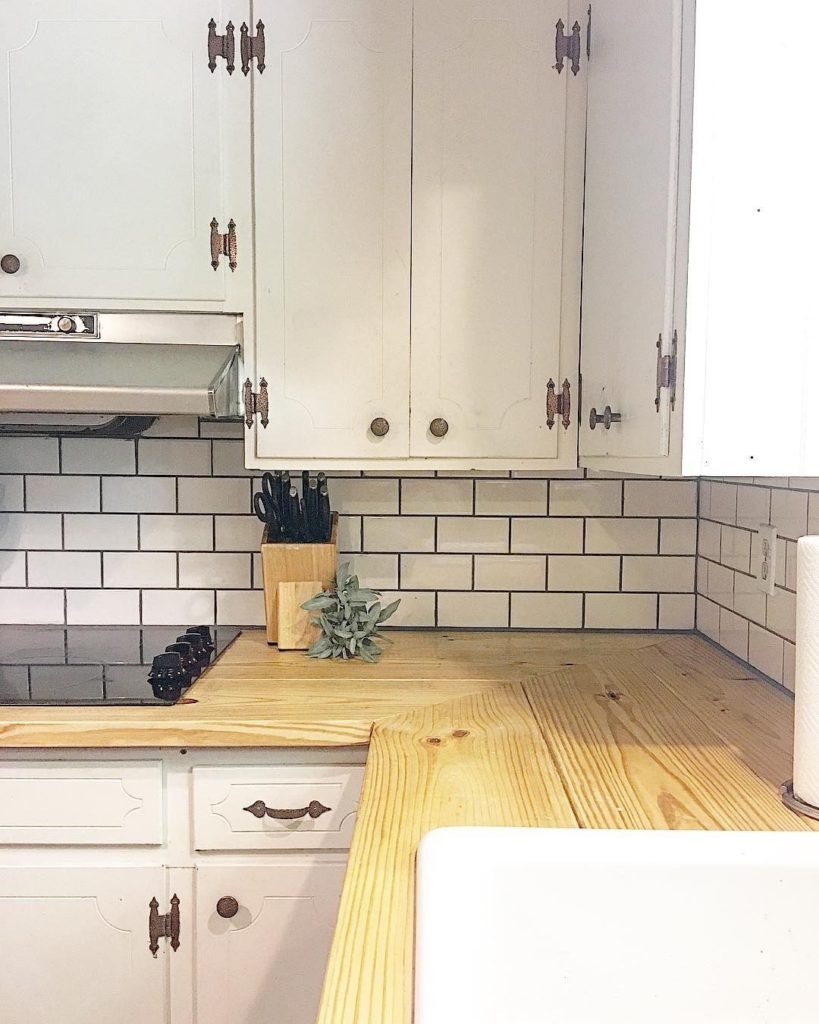
All in all, we completely remodeled our entire kitchen for UNDER $500. That’s how I roll guys!


Your kitchen (and home) is hands down my fave. So inspiring for someone like me who hates to spend a ton and craves a rustic/homey space. Our kitchen ceiling sounds like yours was, and I am all kinds of inspired to do something similar to cover it! Thank you so much for sharing all of your spaces/details with us!
Amazing transformation and on a budget! Thanks for the inspiration!
Wow!! What a huge difference! I love it!!!
Love it!! Where did you get your island/cart? I have been looking for one like it.
Hi, love what you have done. Would love to know where you got the pendant light for your kitchen. The shade with the chicken wire around it, just love it. Thanks, Tina.