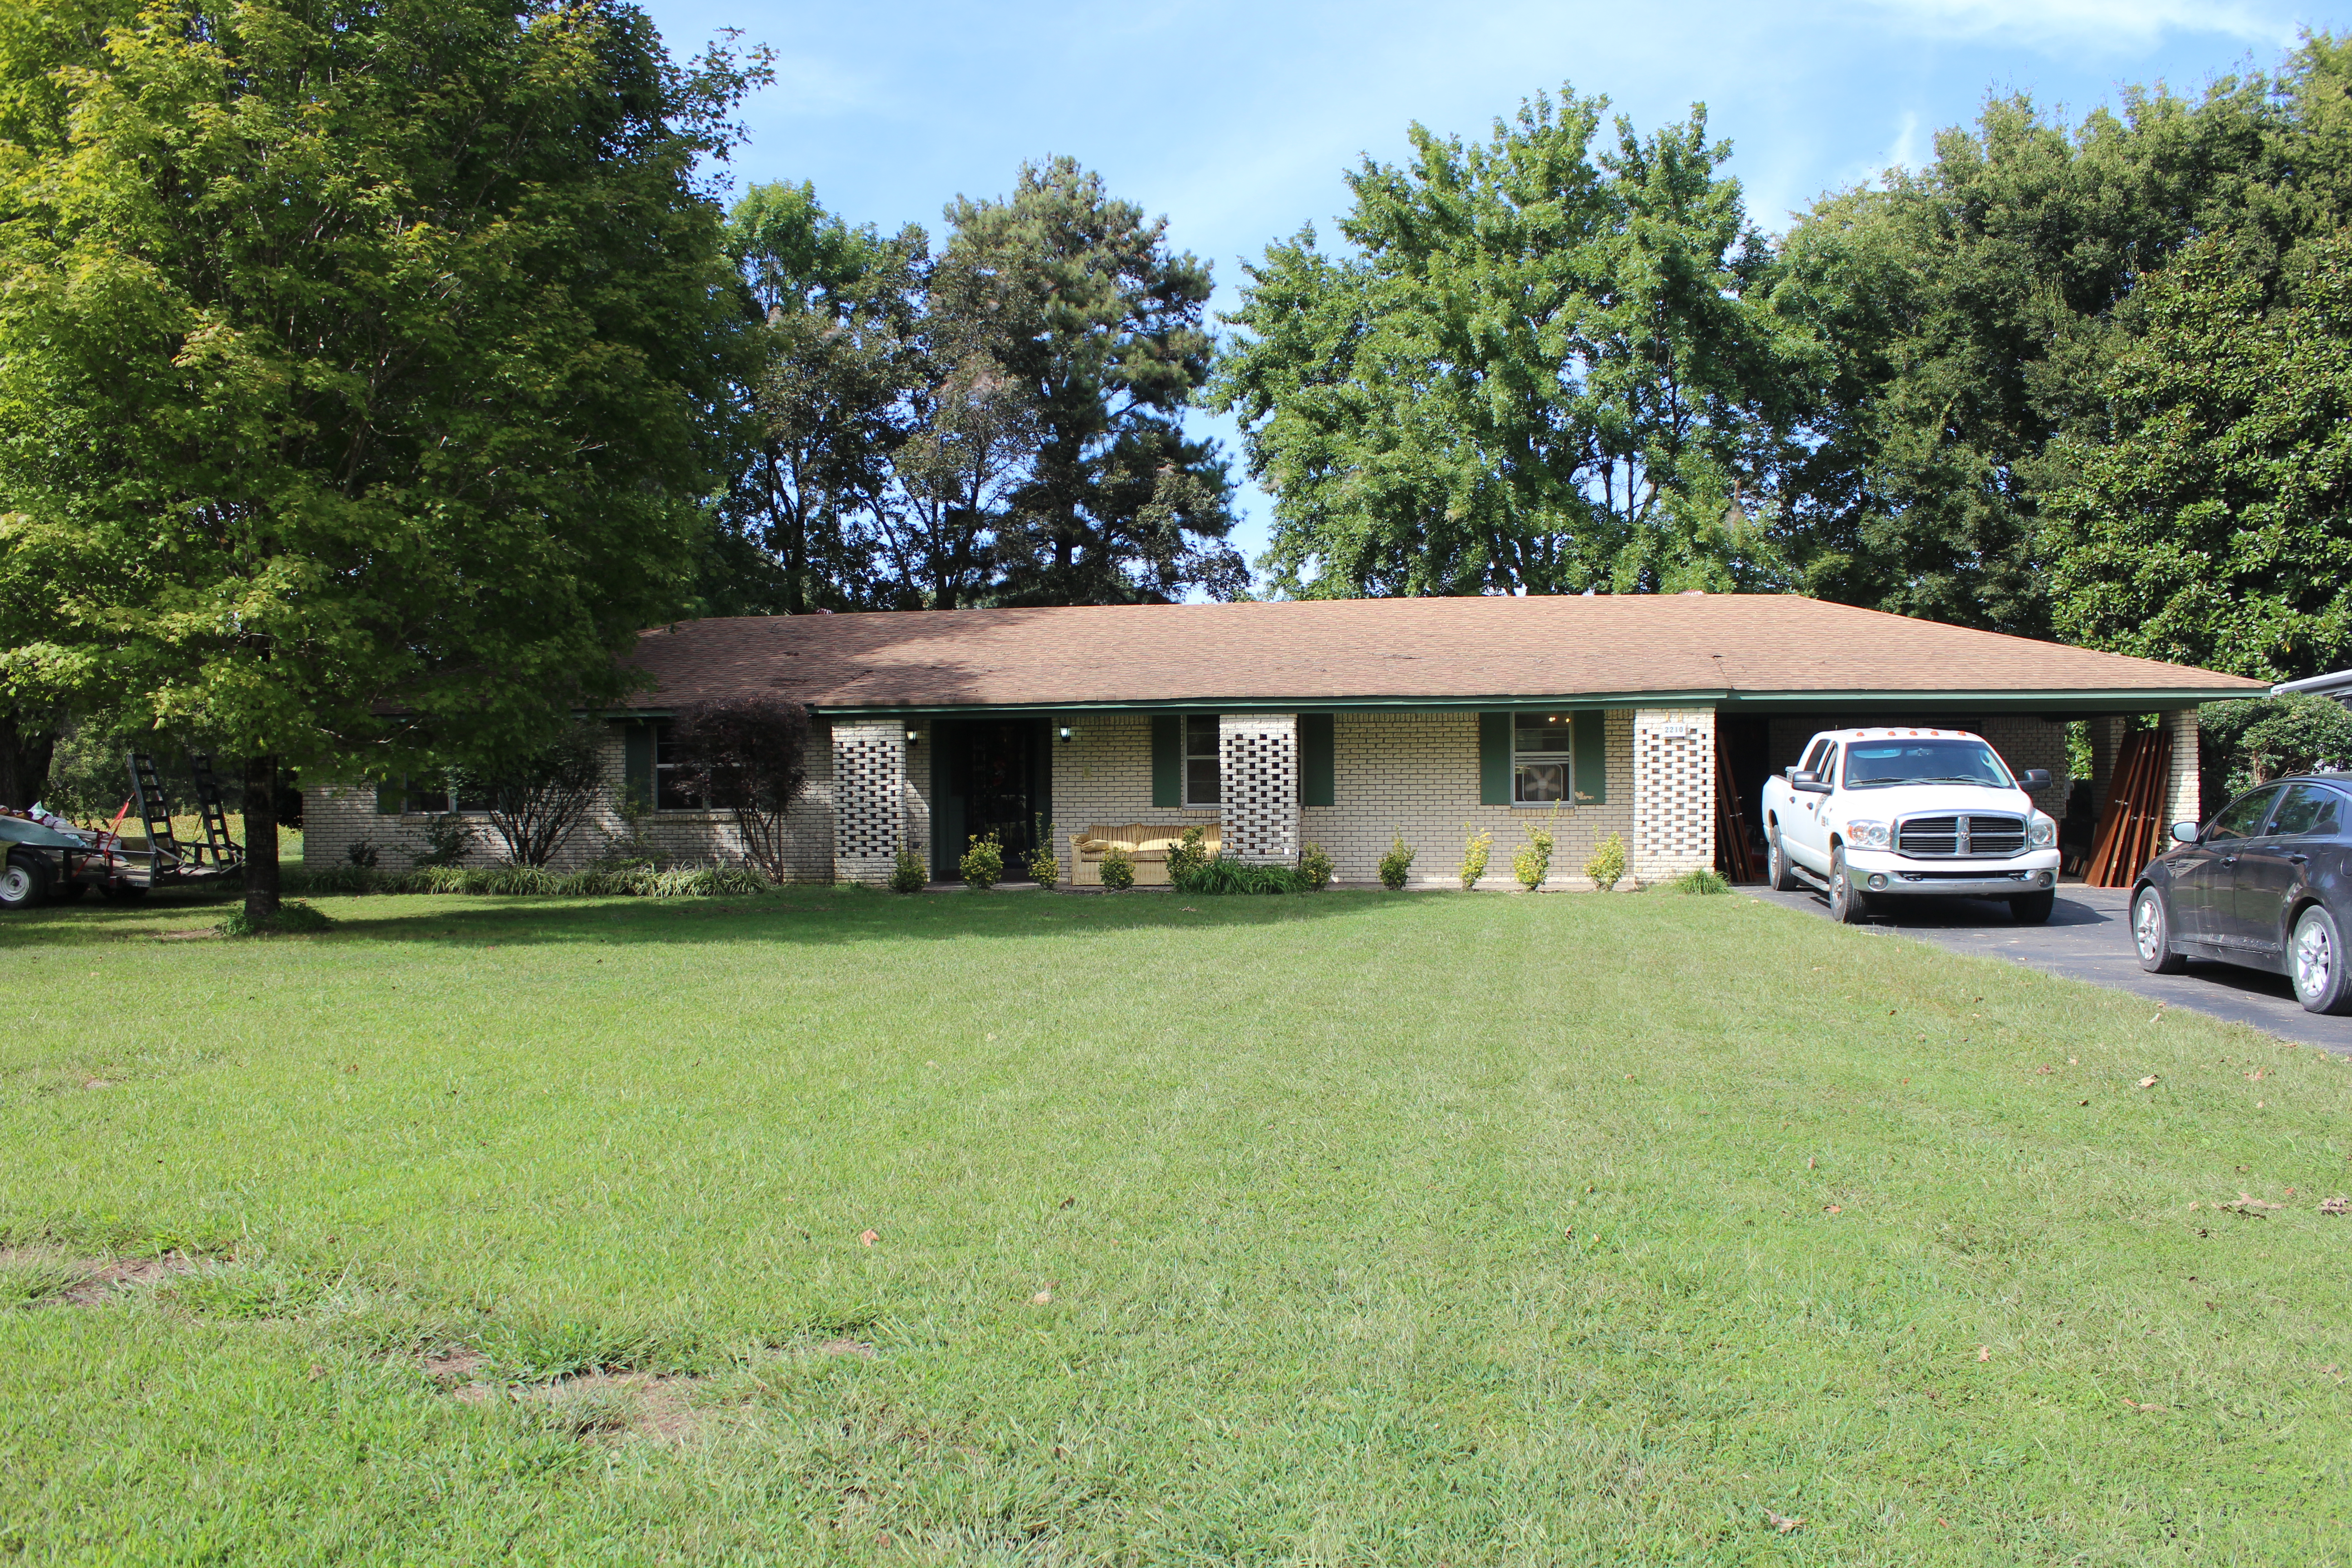
Our new home. Built in 1968 by the same family that we purchased it from and completely original in every way. From the avacado green carpet to the colored bathroom tile and the mustard velvet furniture, it was apparent that in almost 50 years, a renovation had never happened within her walls.
And that is just the way I like it.
When we walked through, I knew that I could breathe new life into her. My husband, who usually trusts me completely, had his doubts, particularly regarding the exterior. I can remember him asking me if I was really ok with how the outside of the home looked. He knew that it was the farthest thing from my ideal white farmhouse. I had a vision though, and although it took us about a year and a half to make it happen, the result was exactly what I had in my head.
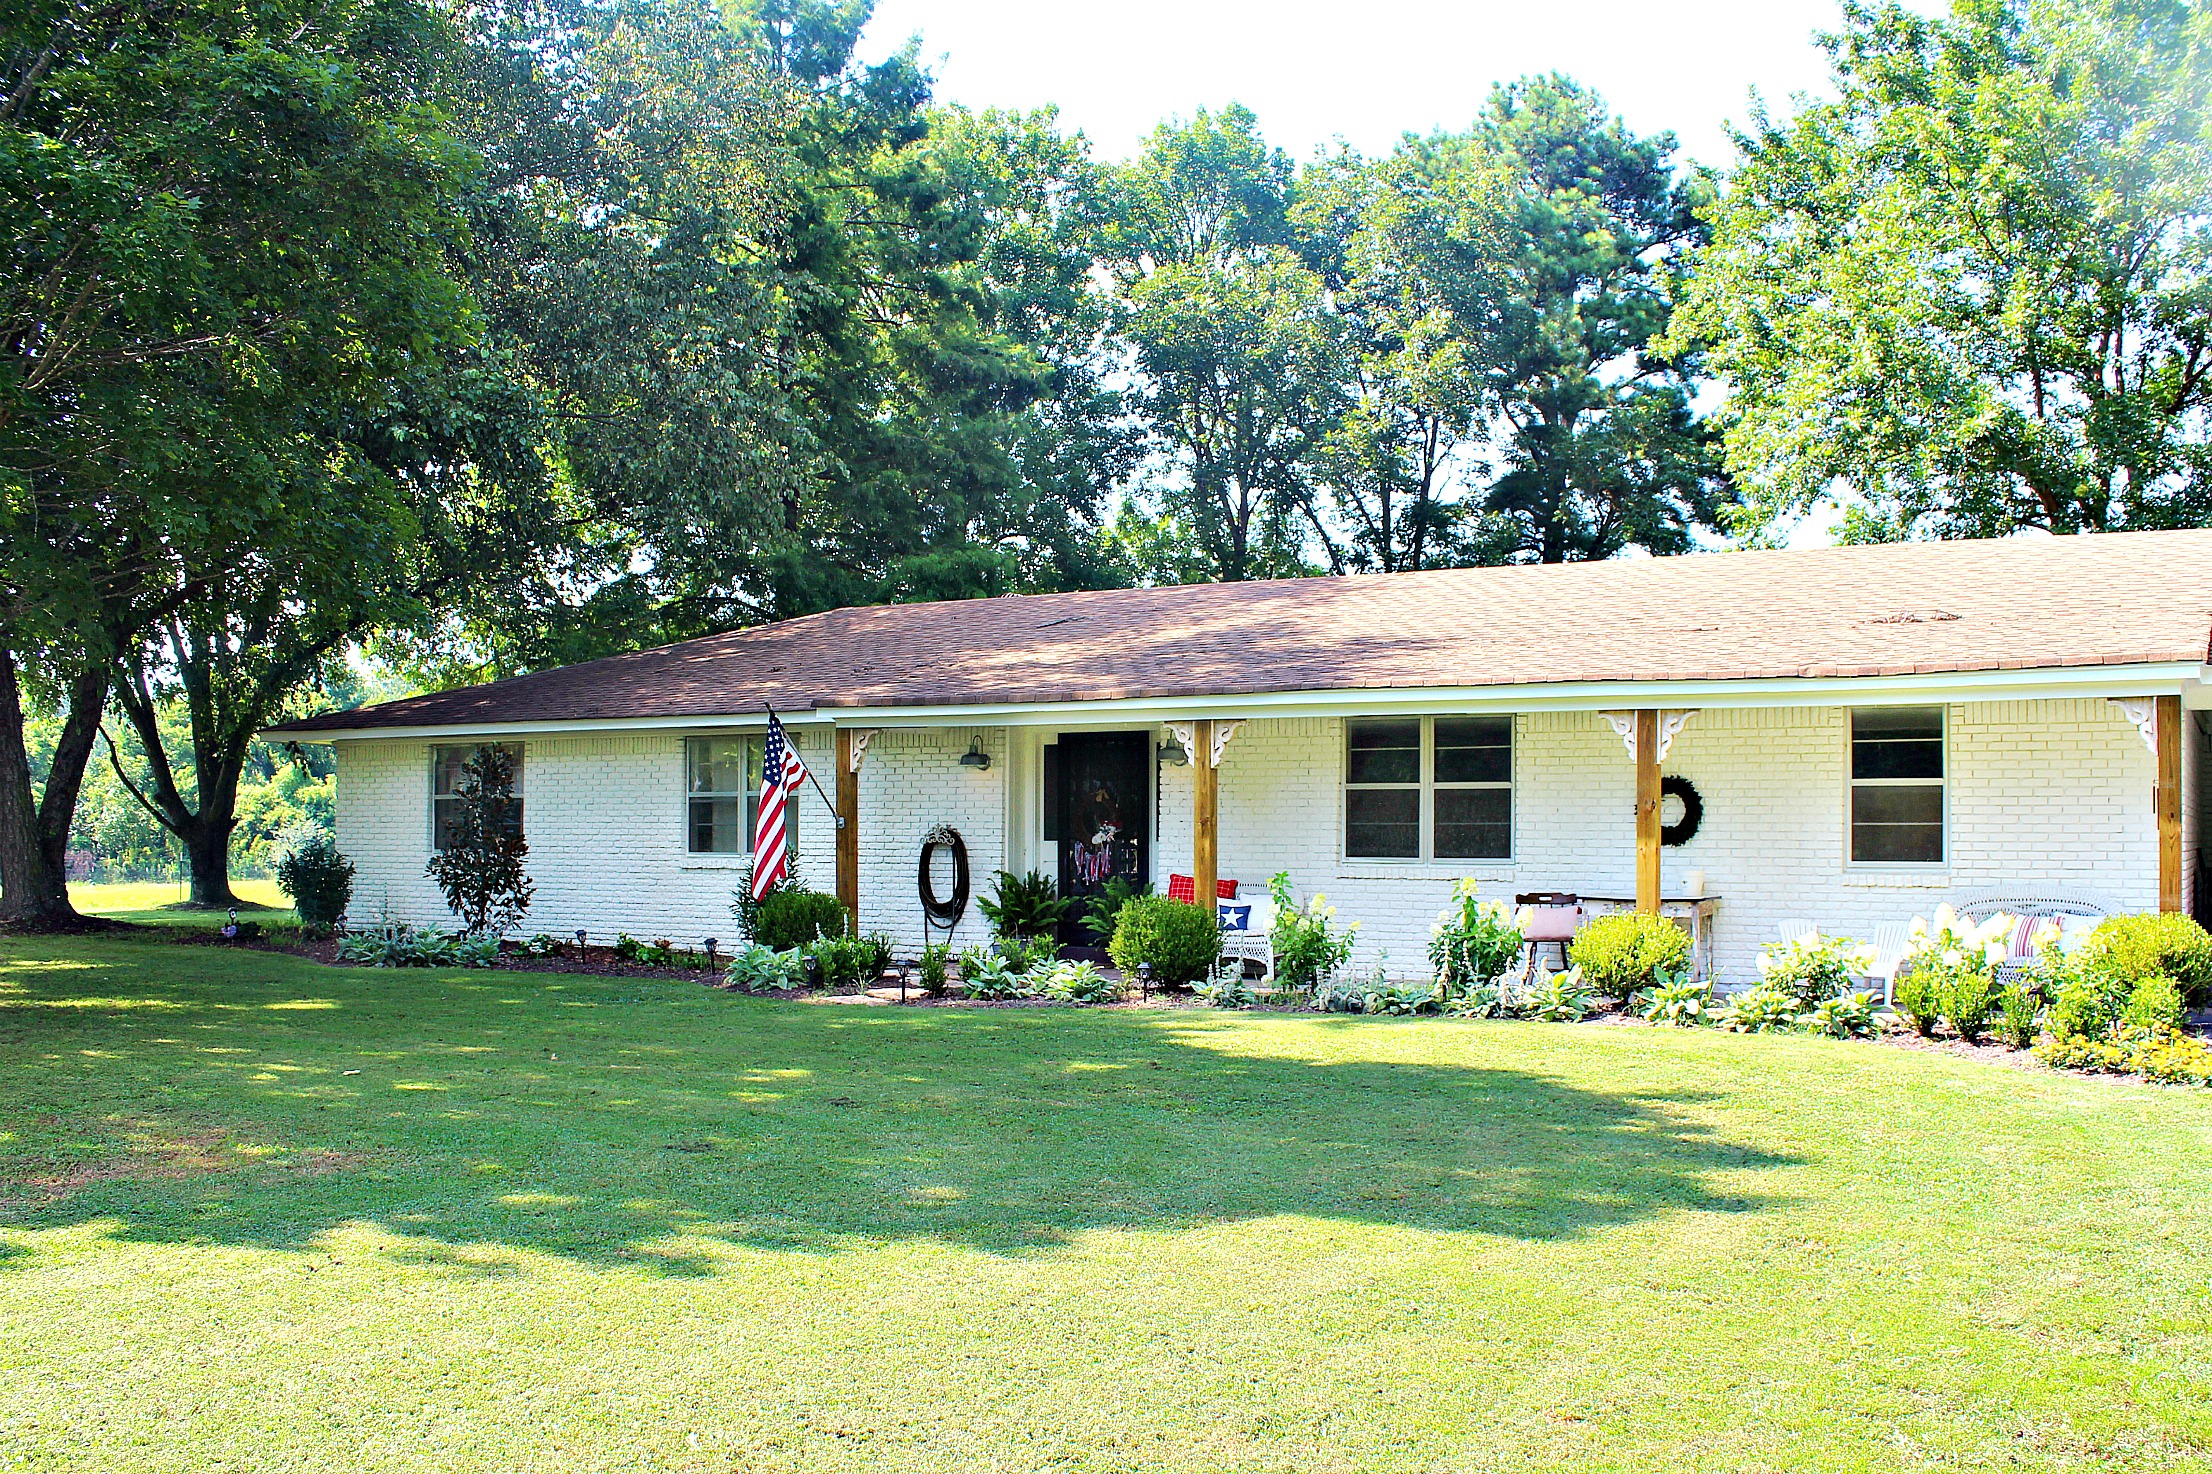
The first priority was to get the whole thing painted. This was going to be quite the undertaking for several reasons. First, The house is brick, which we knew would soak up a ton of paint. Turns out, our mortar lines were about twice the thickness of normal brick mortar lines, which soaked up twice the paint. Second, it sounds easy to select a white, but I am SO glad that I decided to put up a few paint samples and make 100% sure! My go-to white decided to turn PINK on me! While I do love pink, I was after a white house, landing me on SW Alabaster. Finally, BUDGET. I know, I know… it is basically a dirty word when it comes to home design and remodel, but we HAD to be able to do this for a reasonable amount of money. Good thing we know a painter!
THIRTY-FIVE gallons of paint later, we had a white house. It took a crew of 5 men roughly 2 days of work to prep and spray our entire house, including our studio apartment in the back. The whole process cost us right at $2000 for labor AND materials. I know that I am the self proclaimed Queen of Cheap, but trust me, that was money WELL spent. That was one DIY project I would have NEVER wanted to take on.
Once everything was painted, we needed to address the awful front porch columns. Their terrible brick pattern SCREAMED 70’s and they HAD to go. We chose to replace them with treated 6×6’s from our local hardware store, and were planning on doing our own brackets on either side of them. While I am sure that would have been adorable, I came across a pile of corbels at a local sale and I knew I had to have them. I threw down $250 for 8 of the beauties and they were attached to either side of the 6×6 columns.
Replacing the columns themselves was quite a daunting task at first, but I must admit, it was fairly simple. I think we all had this vision of the entire porch crashing down in a huge heap of smoke (which did NOT happen). We used a few 2×4’s and a jack to lift the porch roof ever so slightly and we literally just pushed the brick columns over. We then inserted the 6×6’s with a plastic column base, which can also be purchased at your local hardware store, in the correctly spaced out locations. Replacing the columns took 30 minutes. Cleaning up the bricks took hours and many pairs of hands!
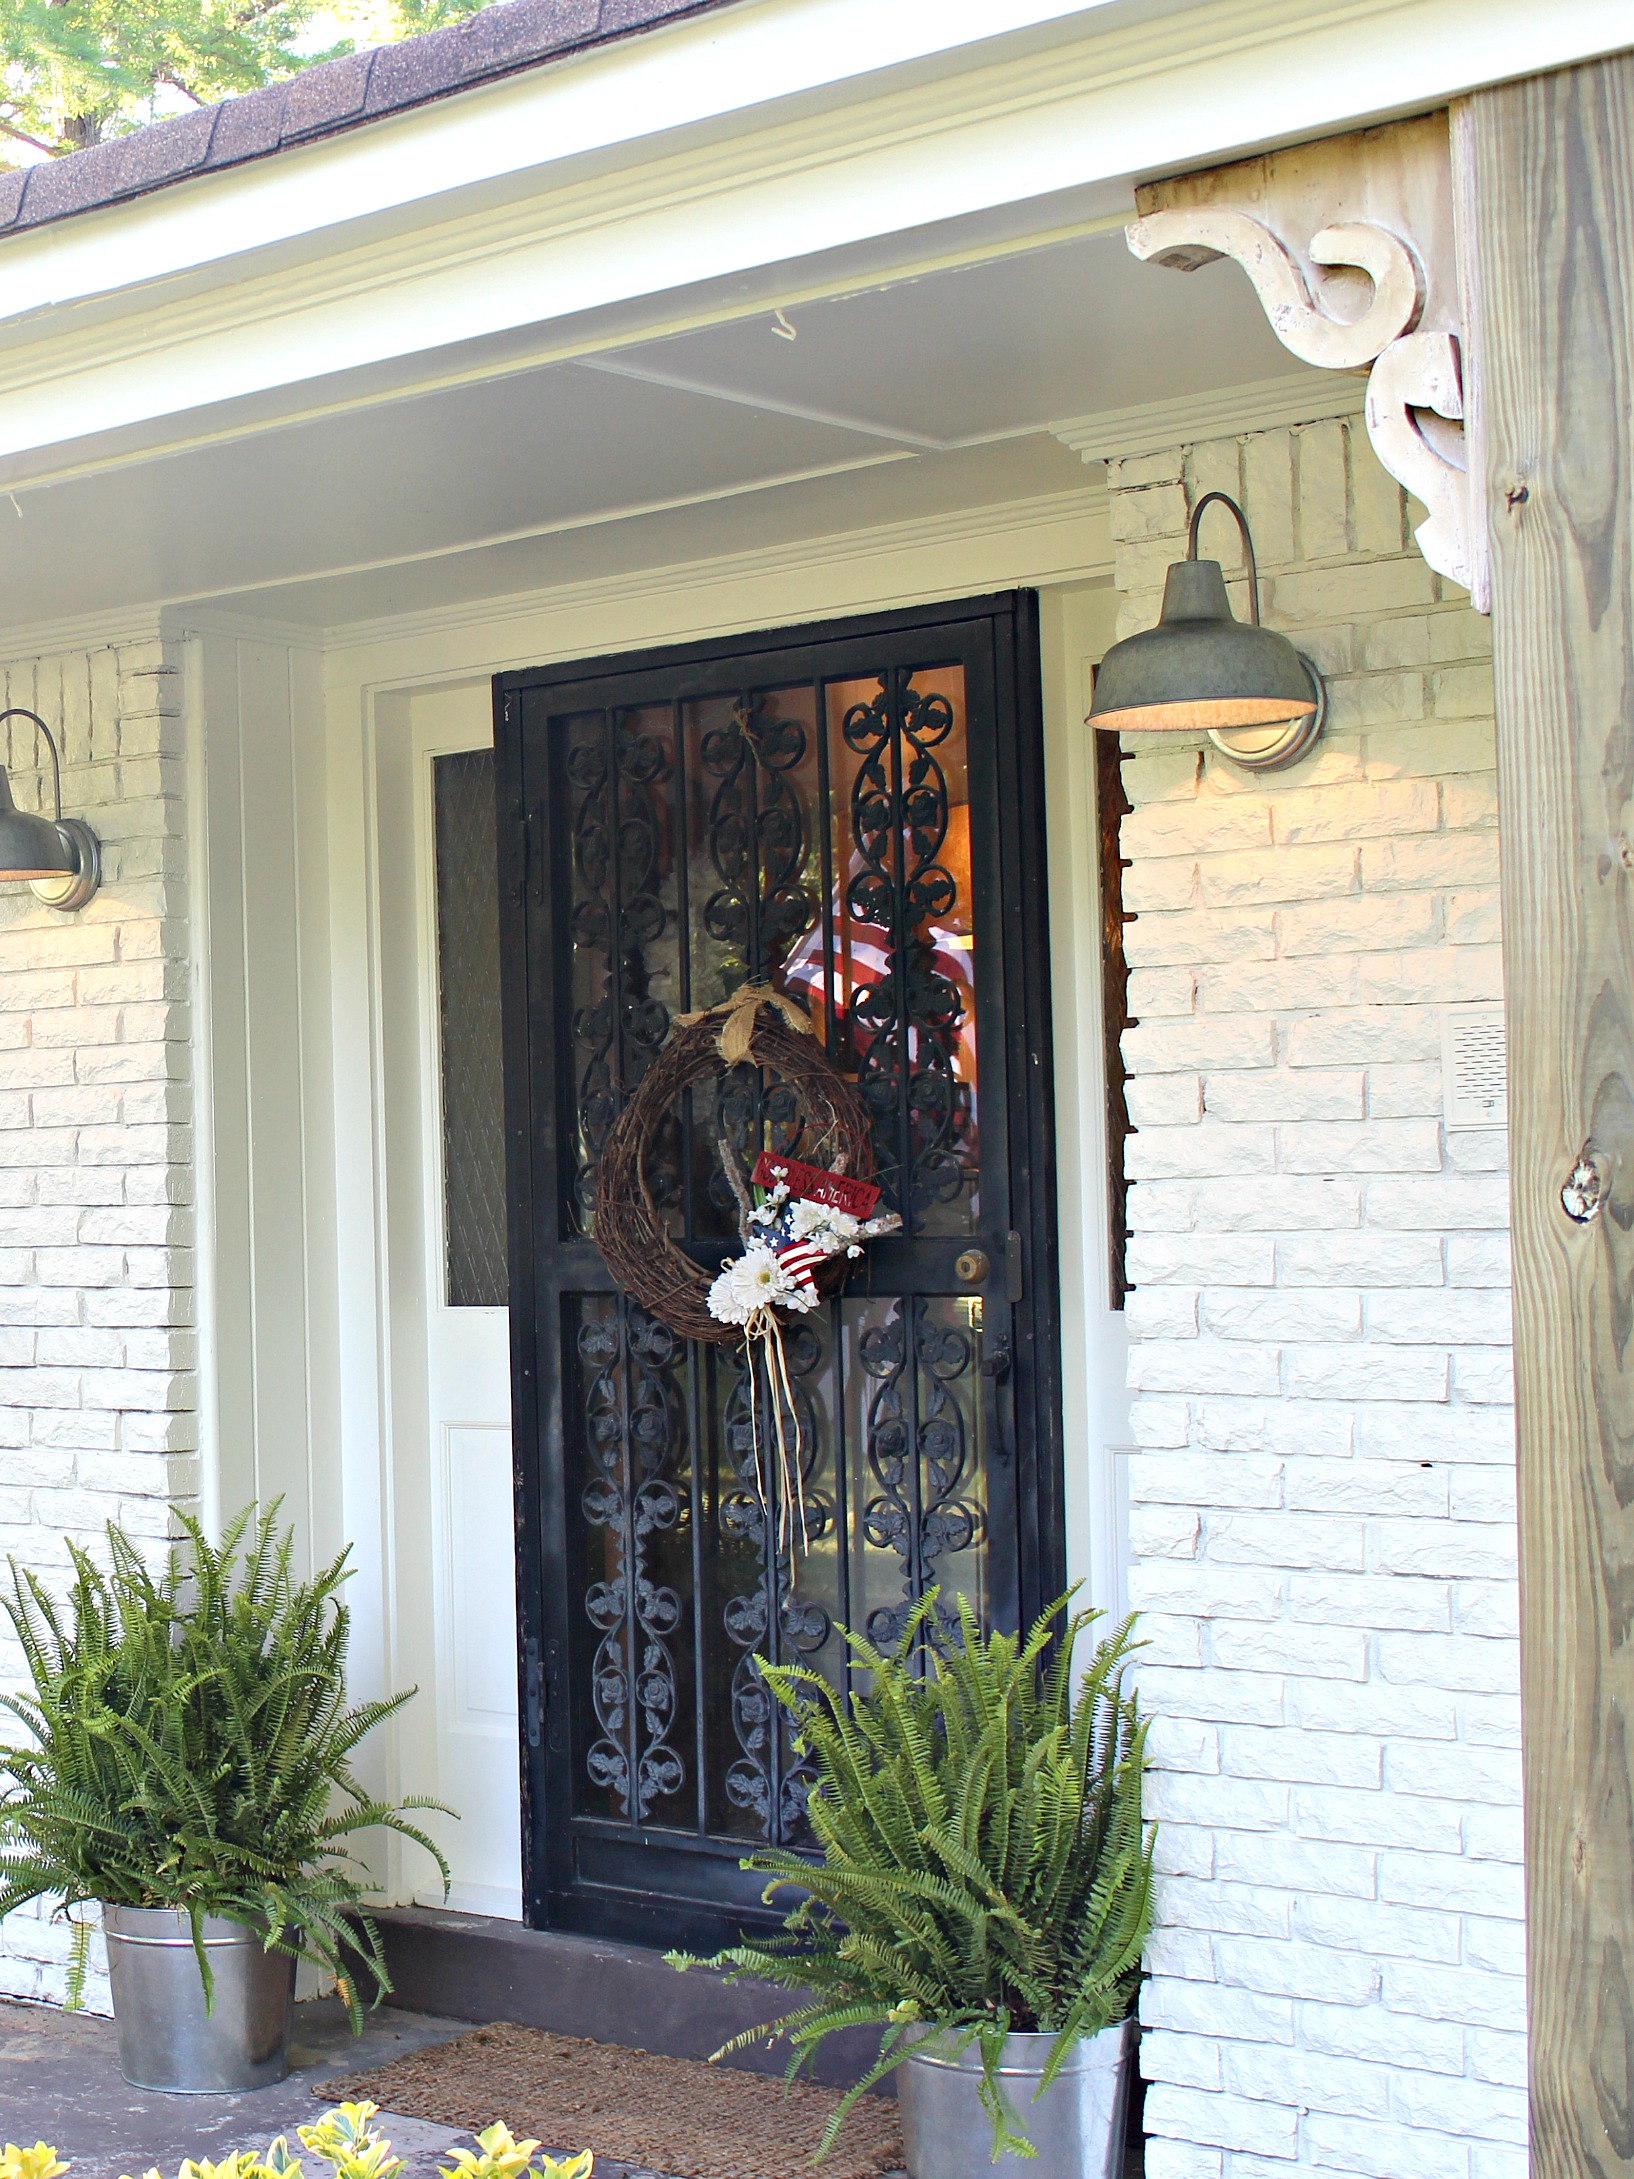
While painting, the painters had removed the lanterns on either side of the door, as well as the garage ceiling light. I KNEW I needed galvanized goose neck lights in my life and I KNEW they needed to greet my guests when they entered my home.
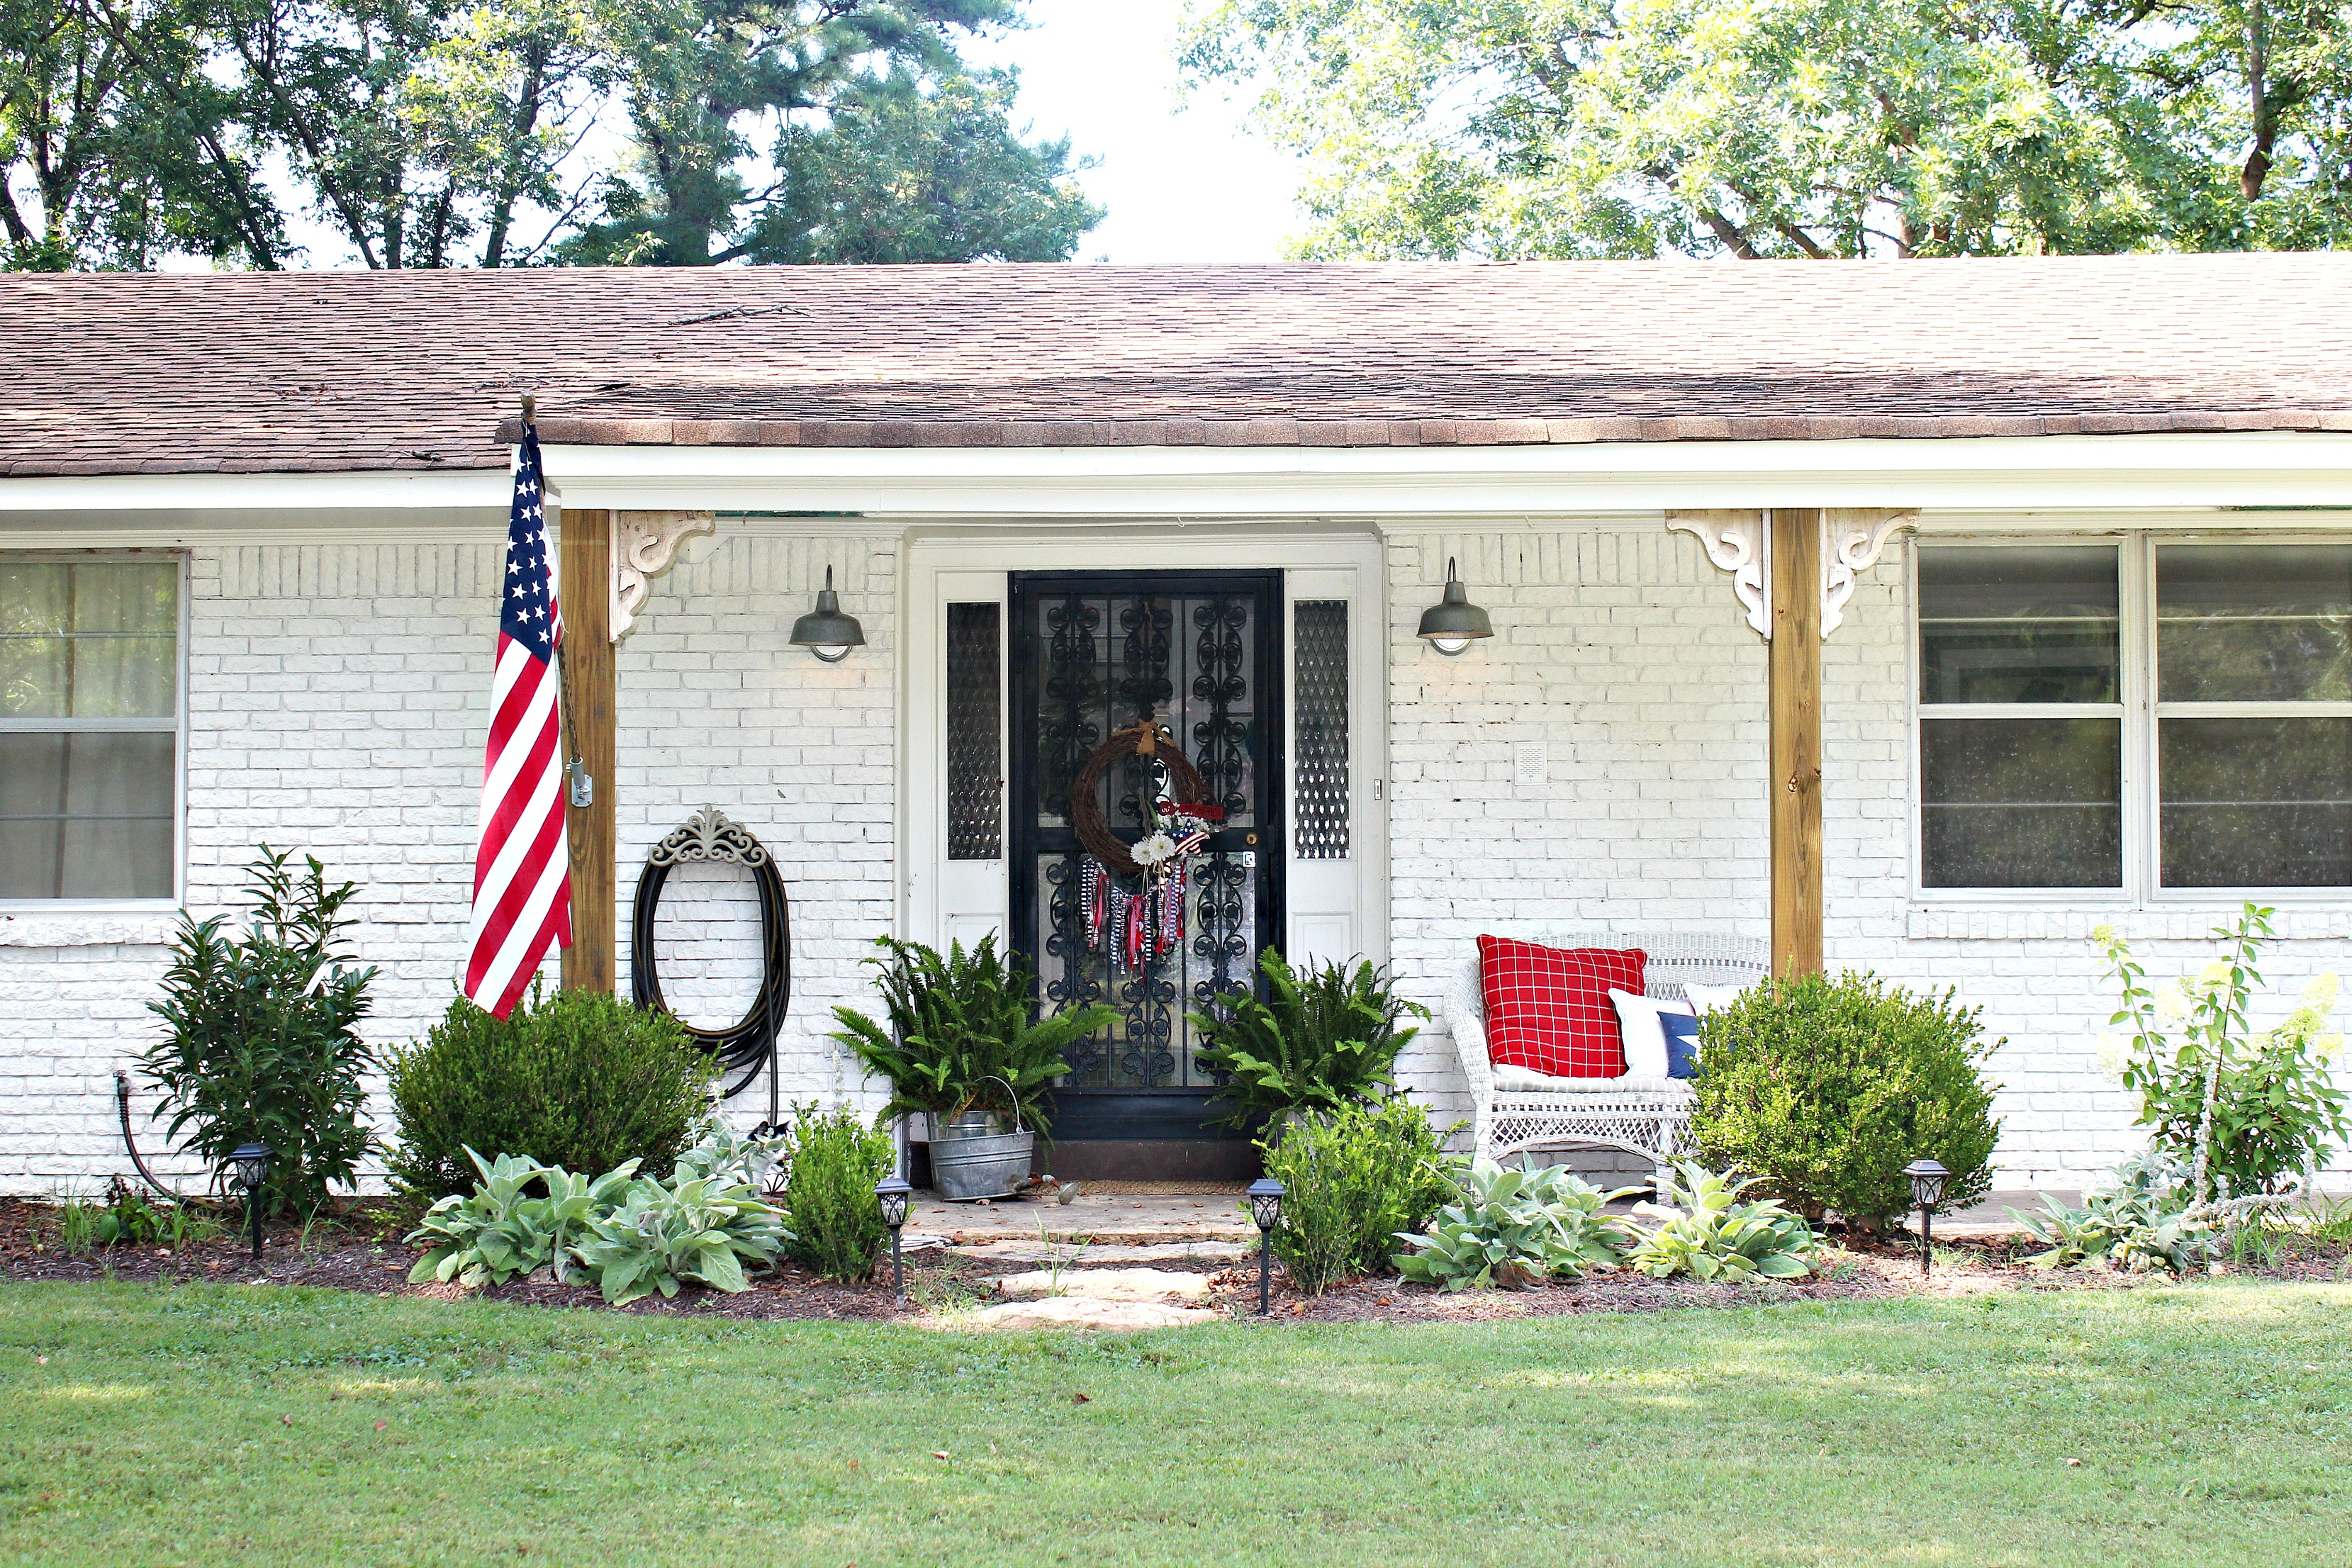
Once we had done what we planned to do to the exterior (for now), we moved on to the finishing touch. The landscaping. The previous foliage was overgrown and had not been maintained. Since we moved in, we had tried to repair the damage done, but the plants were simply too far gone. We decided that the best course of action was to start fresh. Using the tractor, we pulled everything up and with the help of the BEST of friends, we began anew.
Ok, so you know the connection: one of my besties, Emily, is engaged to Luke, who does landscaping! I designed their home and you can find it here! Luke stepped in, took my absolute FAVS and created the most beautiful arrangement to compliment the front of our home. There are Hydrangeas, Lamb’s Ear, Boxwoods and even a baby Magnolia that would make Chip and Jo proud!
Now, I would love to tell you that I am finished, but alas, I would be telling you a story. This is just Phase 1. We have hit pause on a few projects for a few reasons. First, we have accomplished SO much this year that we kind of just want to enjoy the fruit of our labor for a minute. And secondly, it is summer and I want to spend time with my babes before school and dance and EVERYTHING else begins again. Phase 2 will include shutters, new windows (my checkbook is hurting already) and a new front door.
Which brings me to my question! What would you use for the front door? I feel like I have considered every option out there and I still have no idea what to do with it! Leave me a comment and give me your opinion! Thanks friends!
As always, thank you for hanging out with me!
Tootie


I’m currently loving the glass paned doors. They are so welcoming and allow so much light. I’d do a wood one with 6-8 glass panes half way to 3/4 down, with a wood frame stained the same color as your posts. It would bring the whole look together. I think it’s @theclevergoose that has the one I’m thinking of…
You could go black, grey or fun color. Im wanting yo paint my house white plan on a medium grey or pale blue grey color.
I can’t believe that your house was built back in 1968. That’s such a long time ago! But at the same time, it doesn’t look all that old.