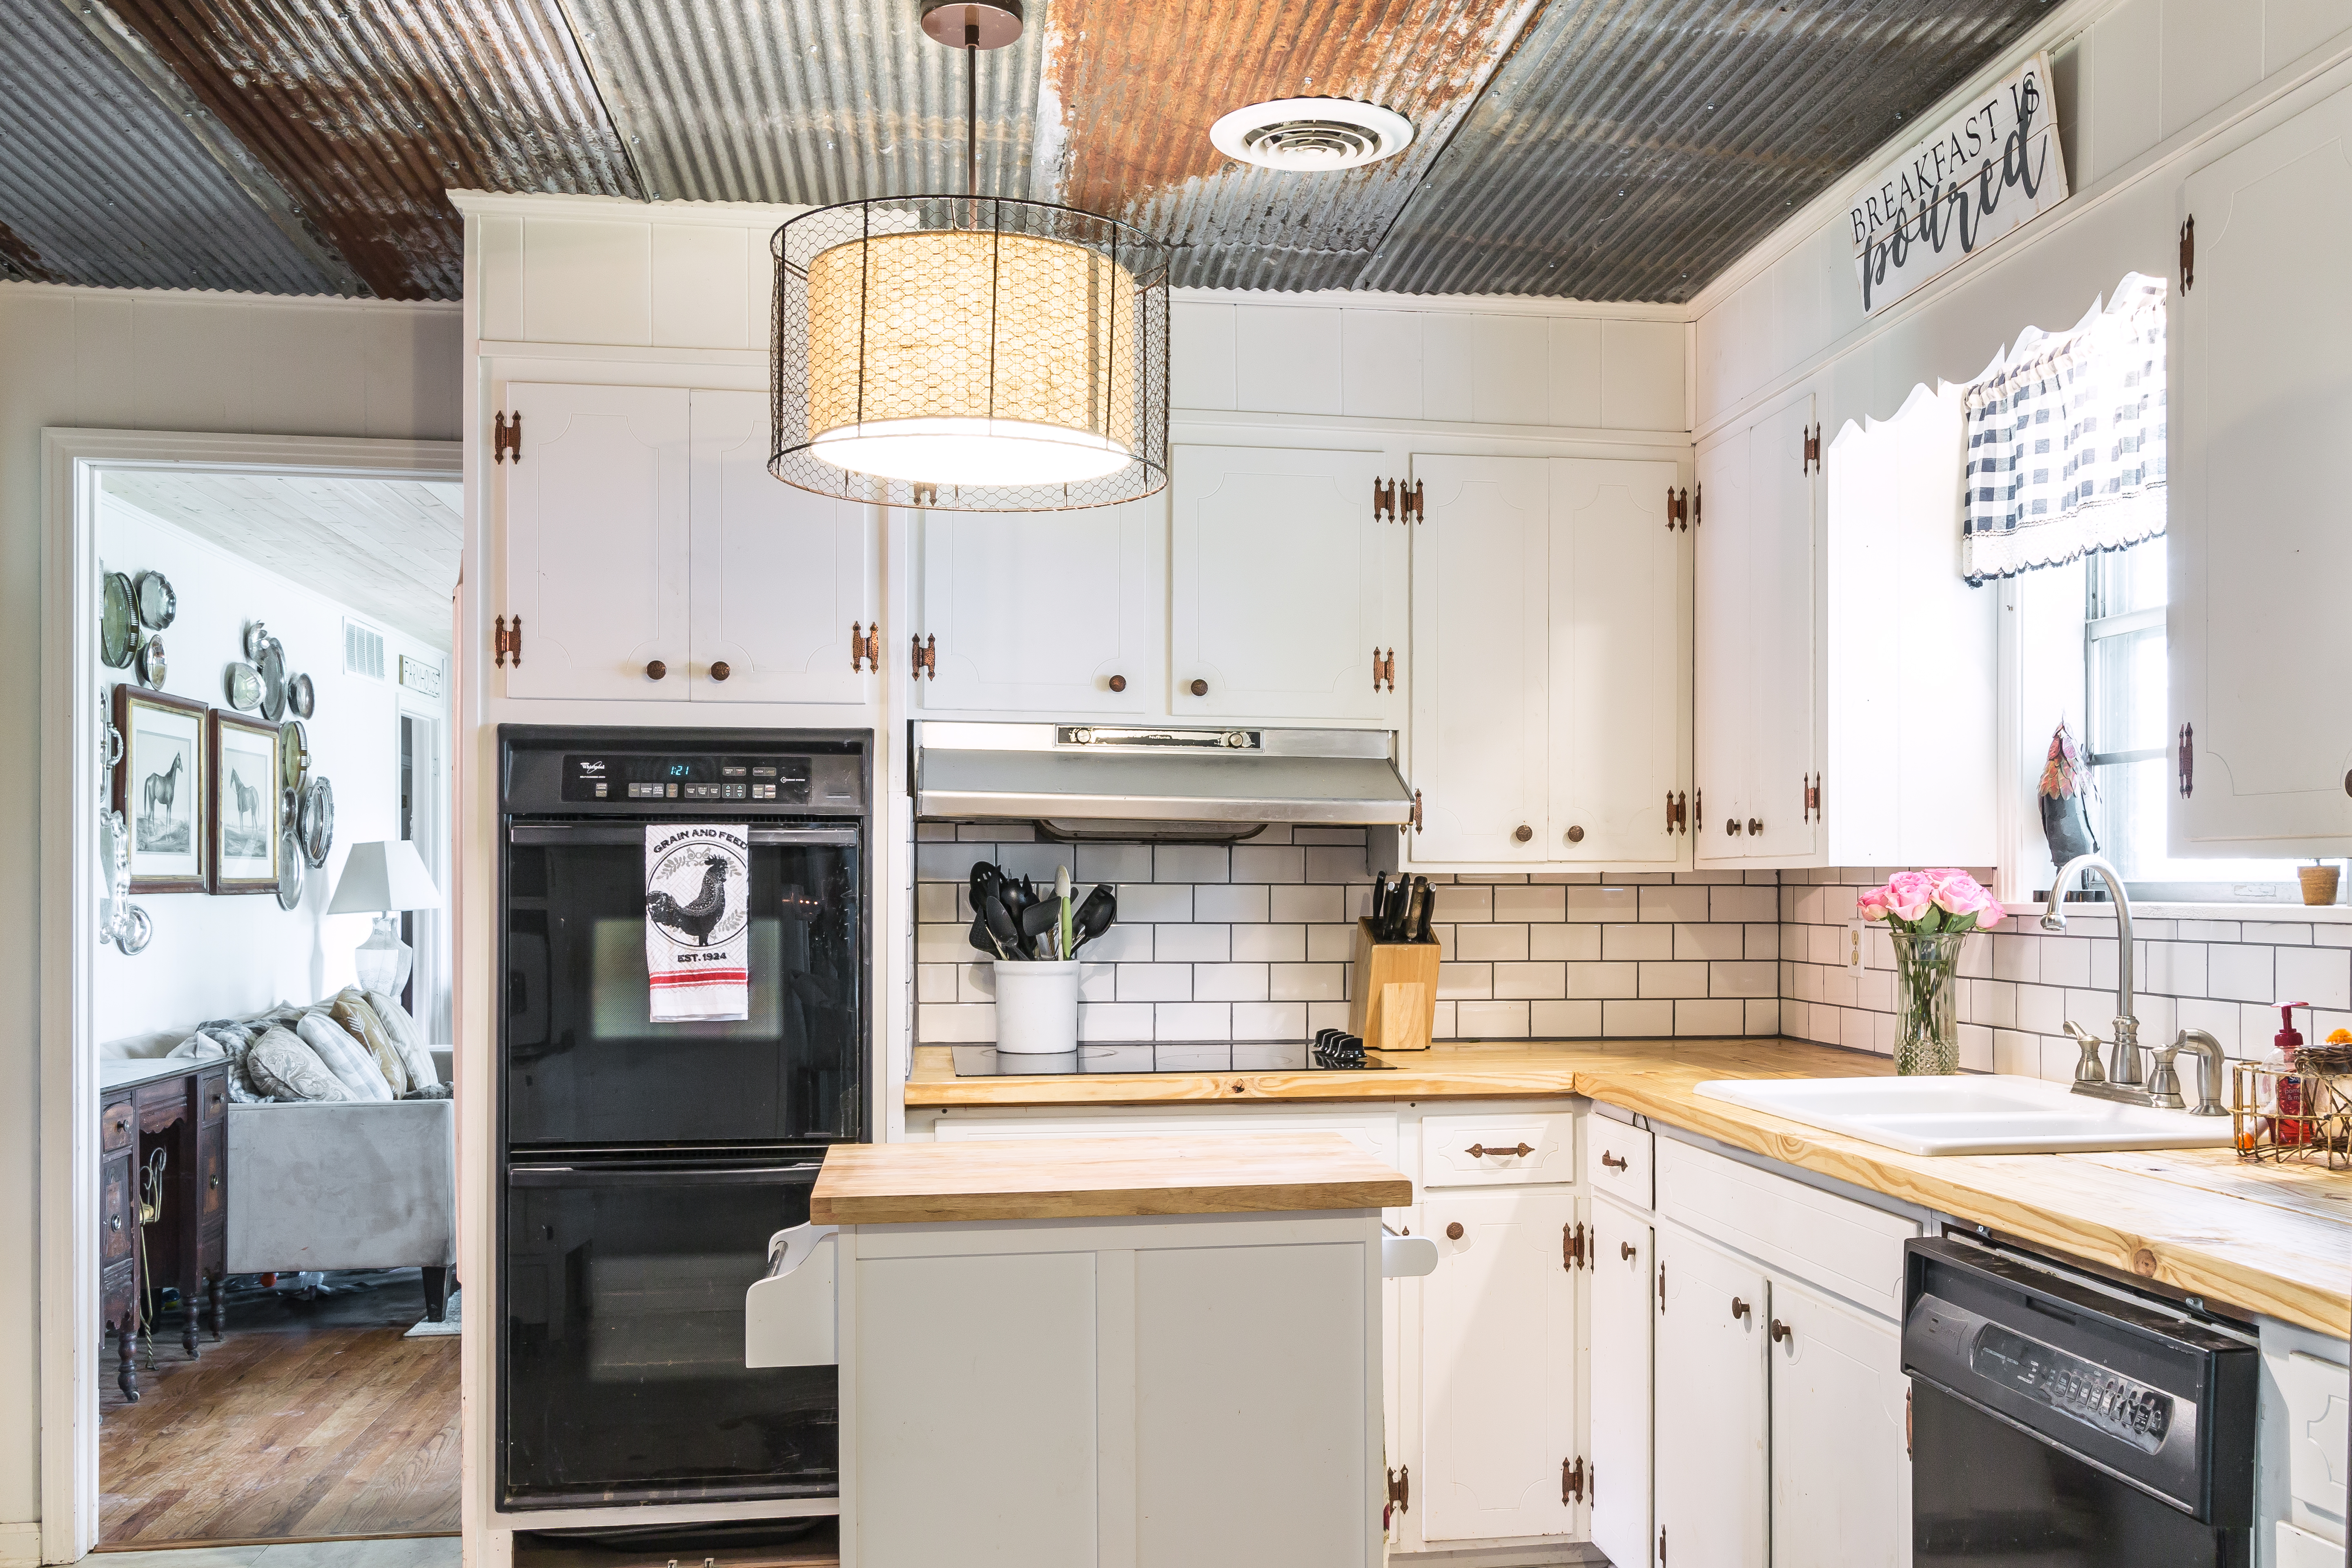
I often joke that Rust is my favorite color. And when we decided to cover up the nasty, 1968 original, 2% asbestos containing (don’t even get me started) popcorn ceiling, I KNEW I wanted to use rusted tin somewhere. Although I had about 10 mismatched sheets laying around, (because who doesn’t need backup rusted tin) I knew I needed to find a source for the materials for this project. What I had was too damaged and the sheets weren’t consistent.
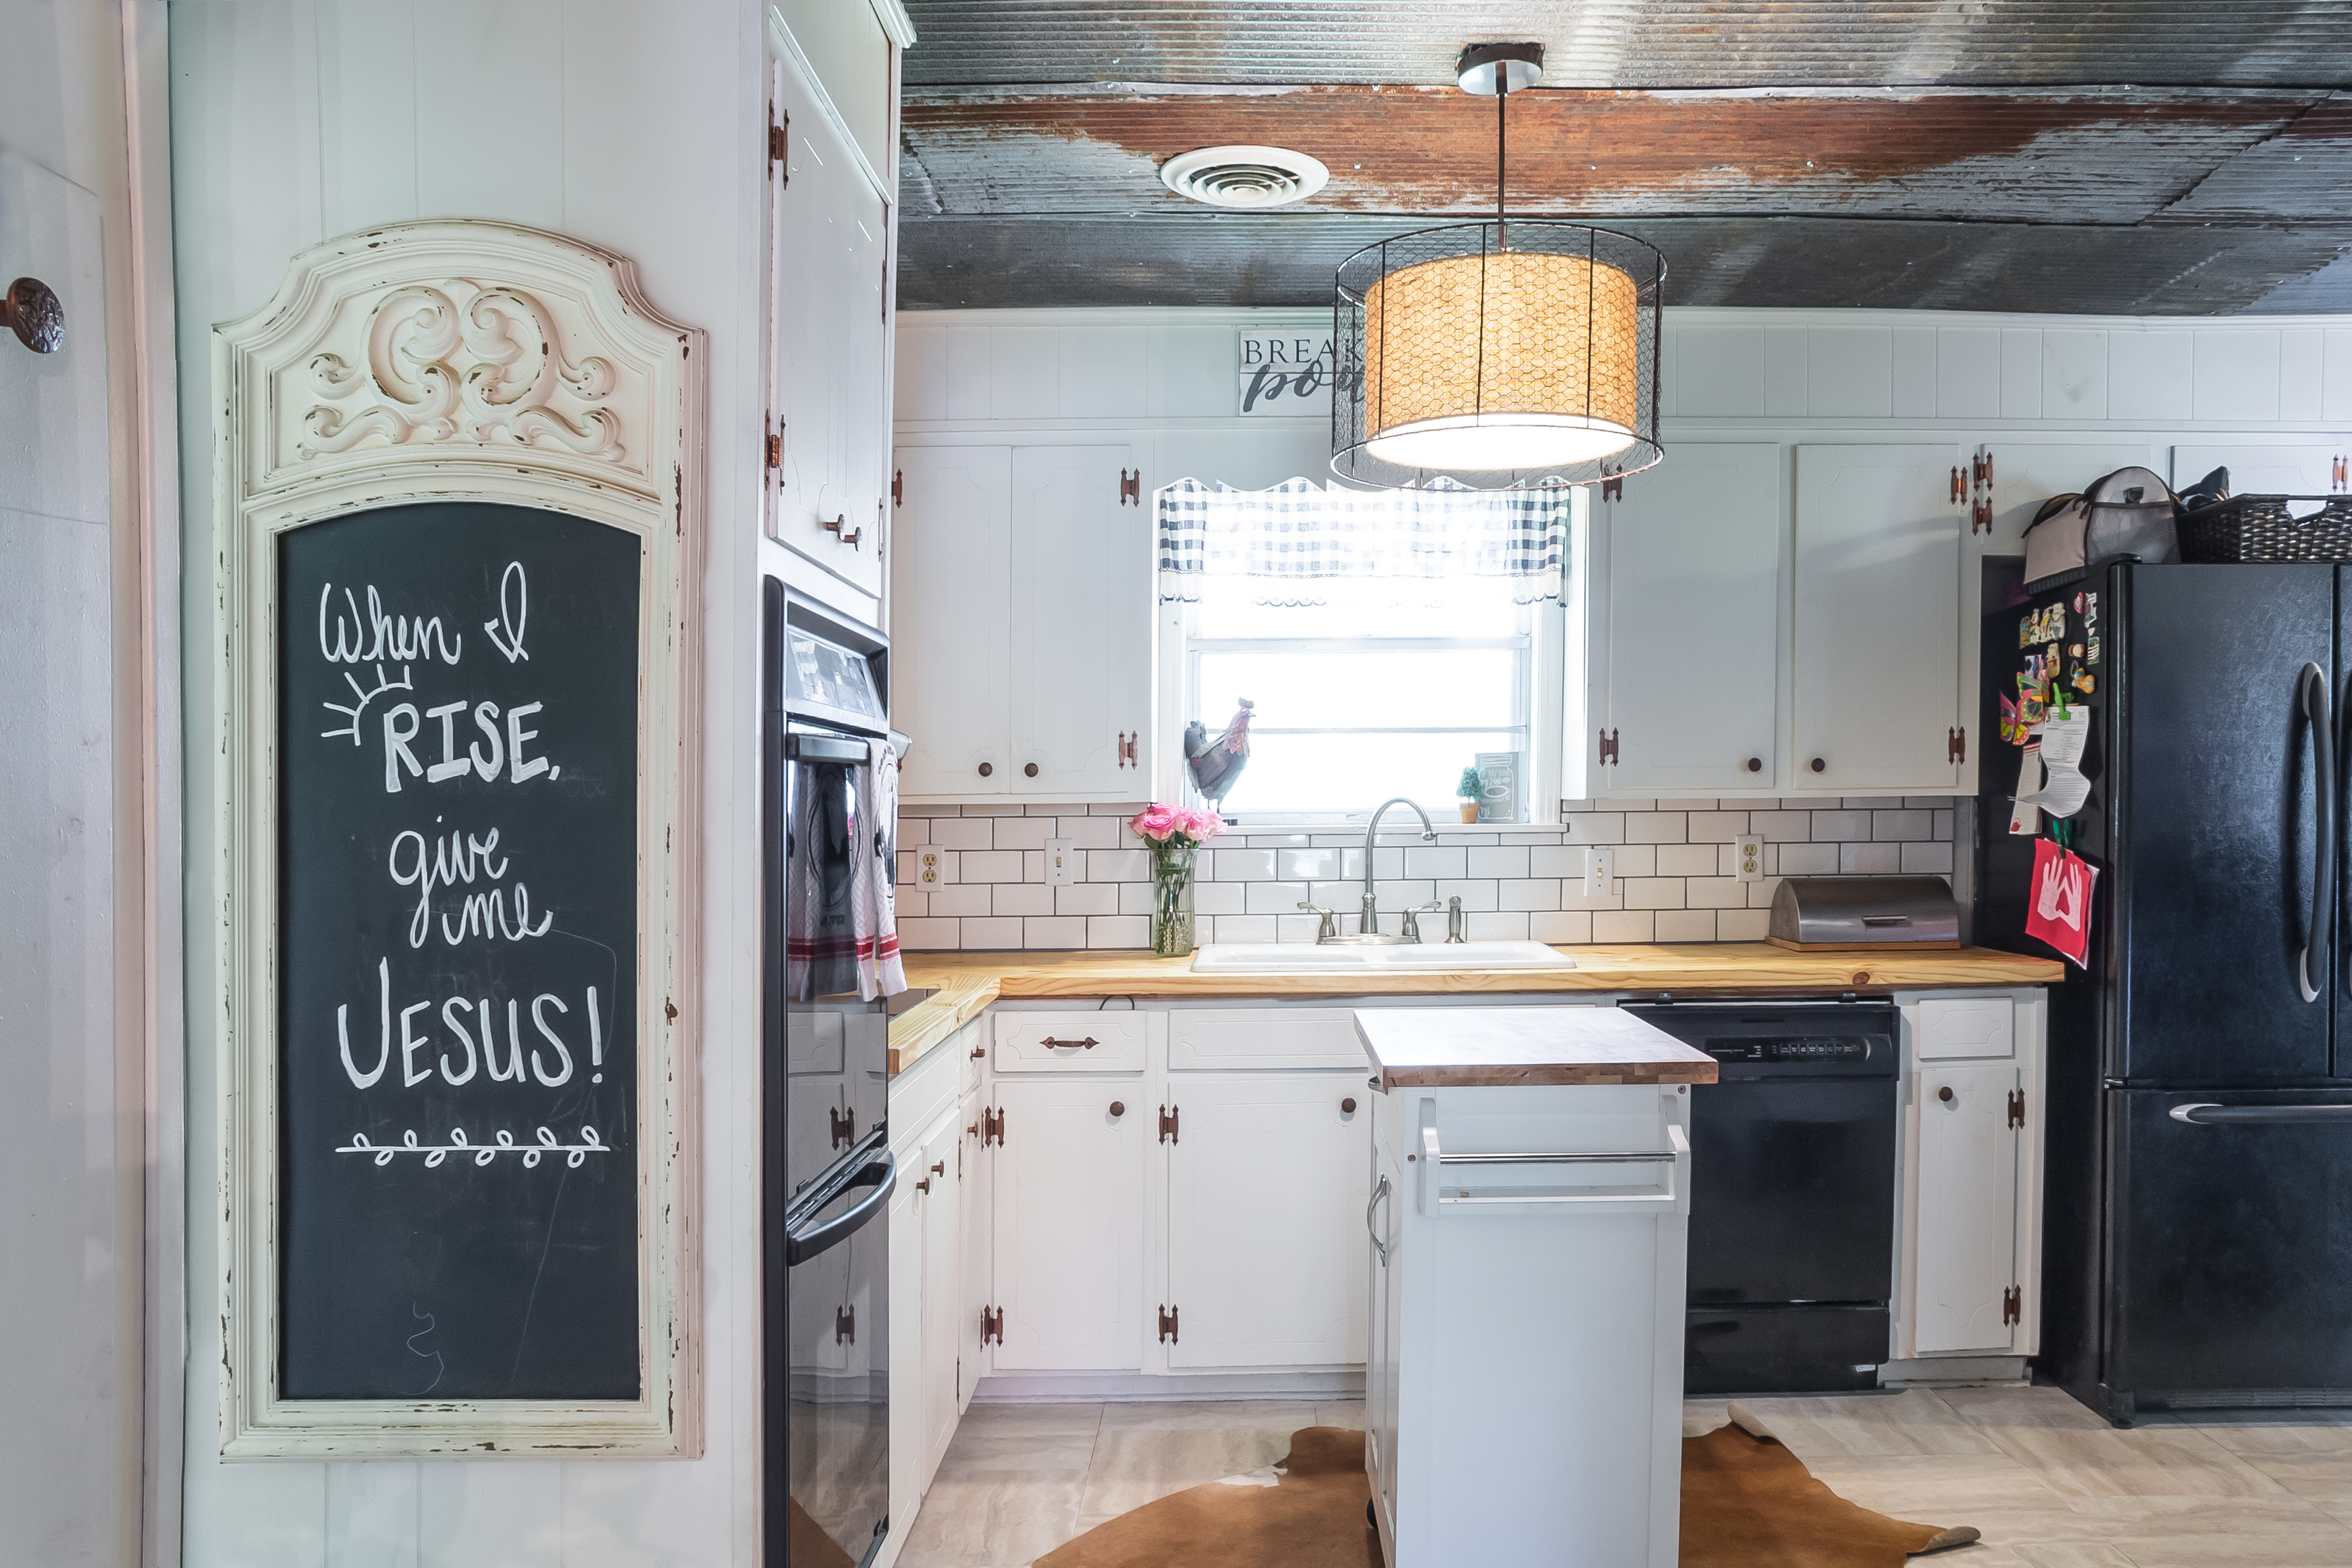
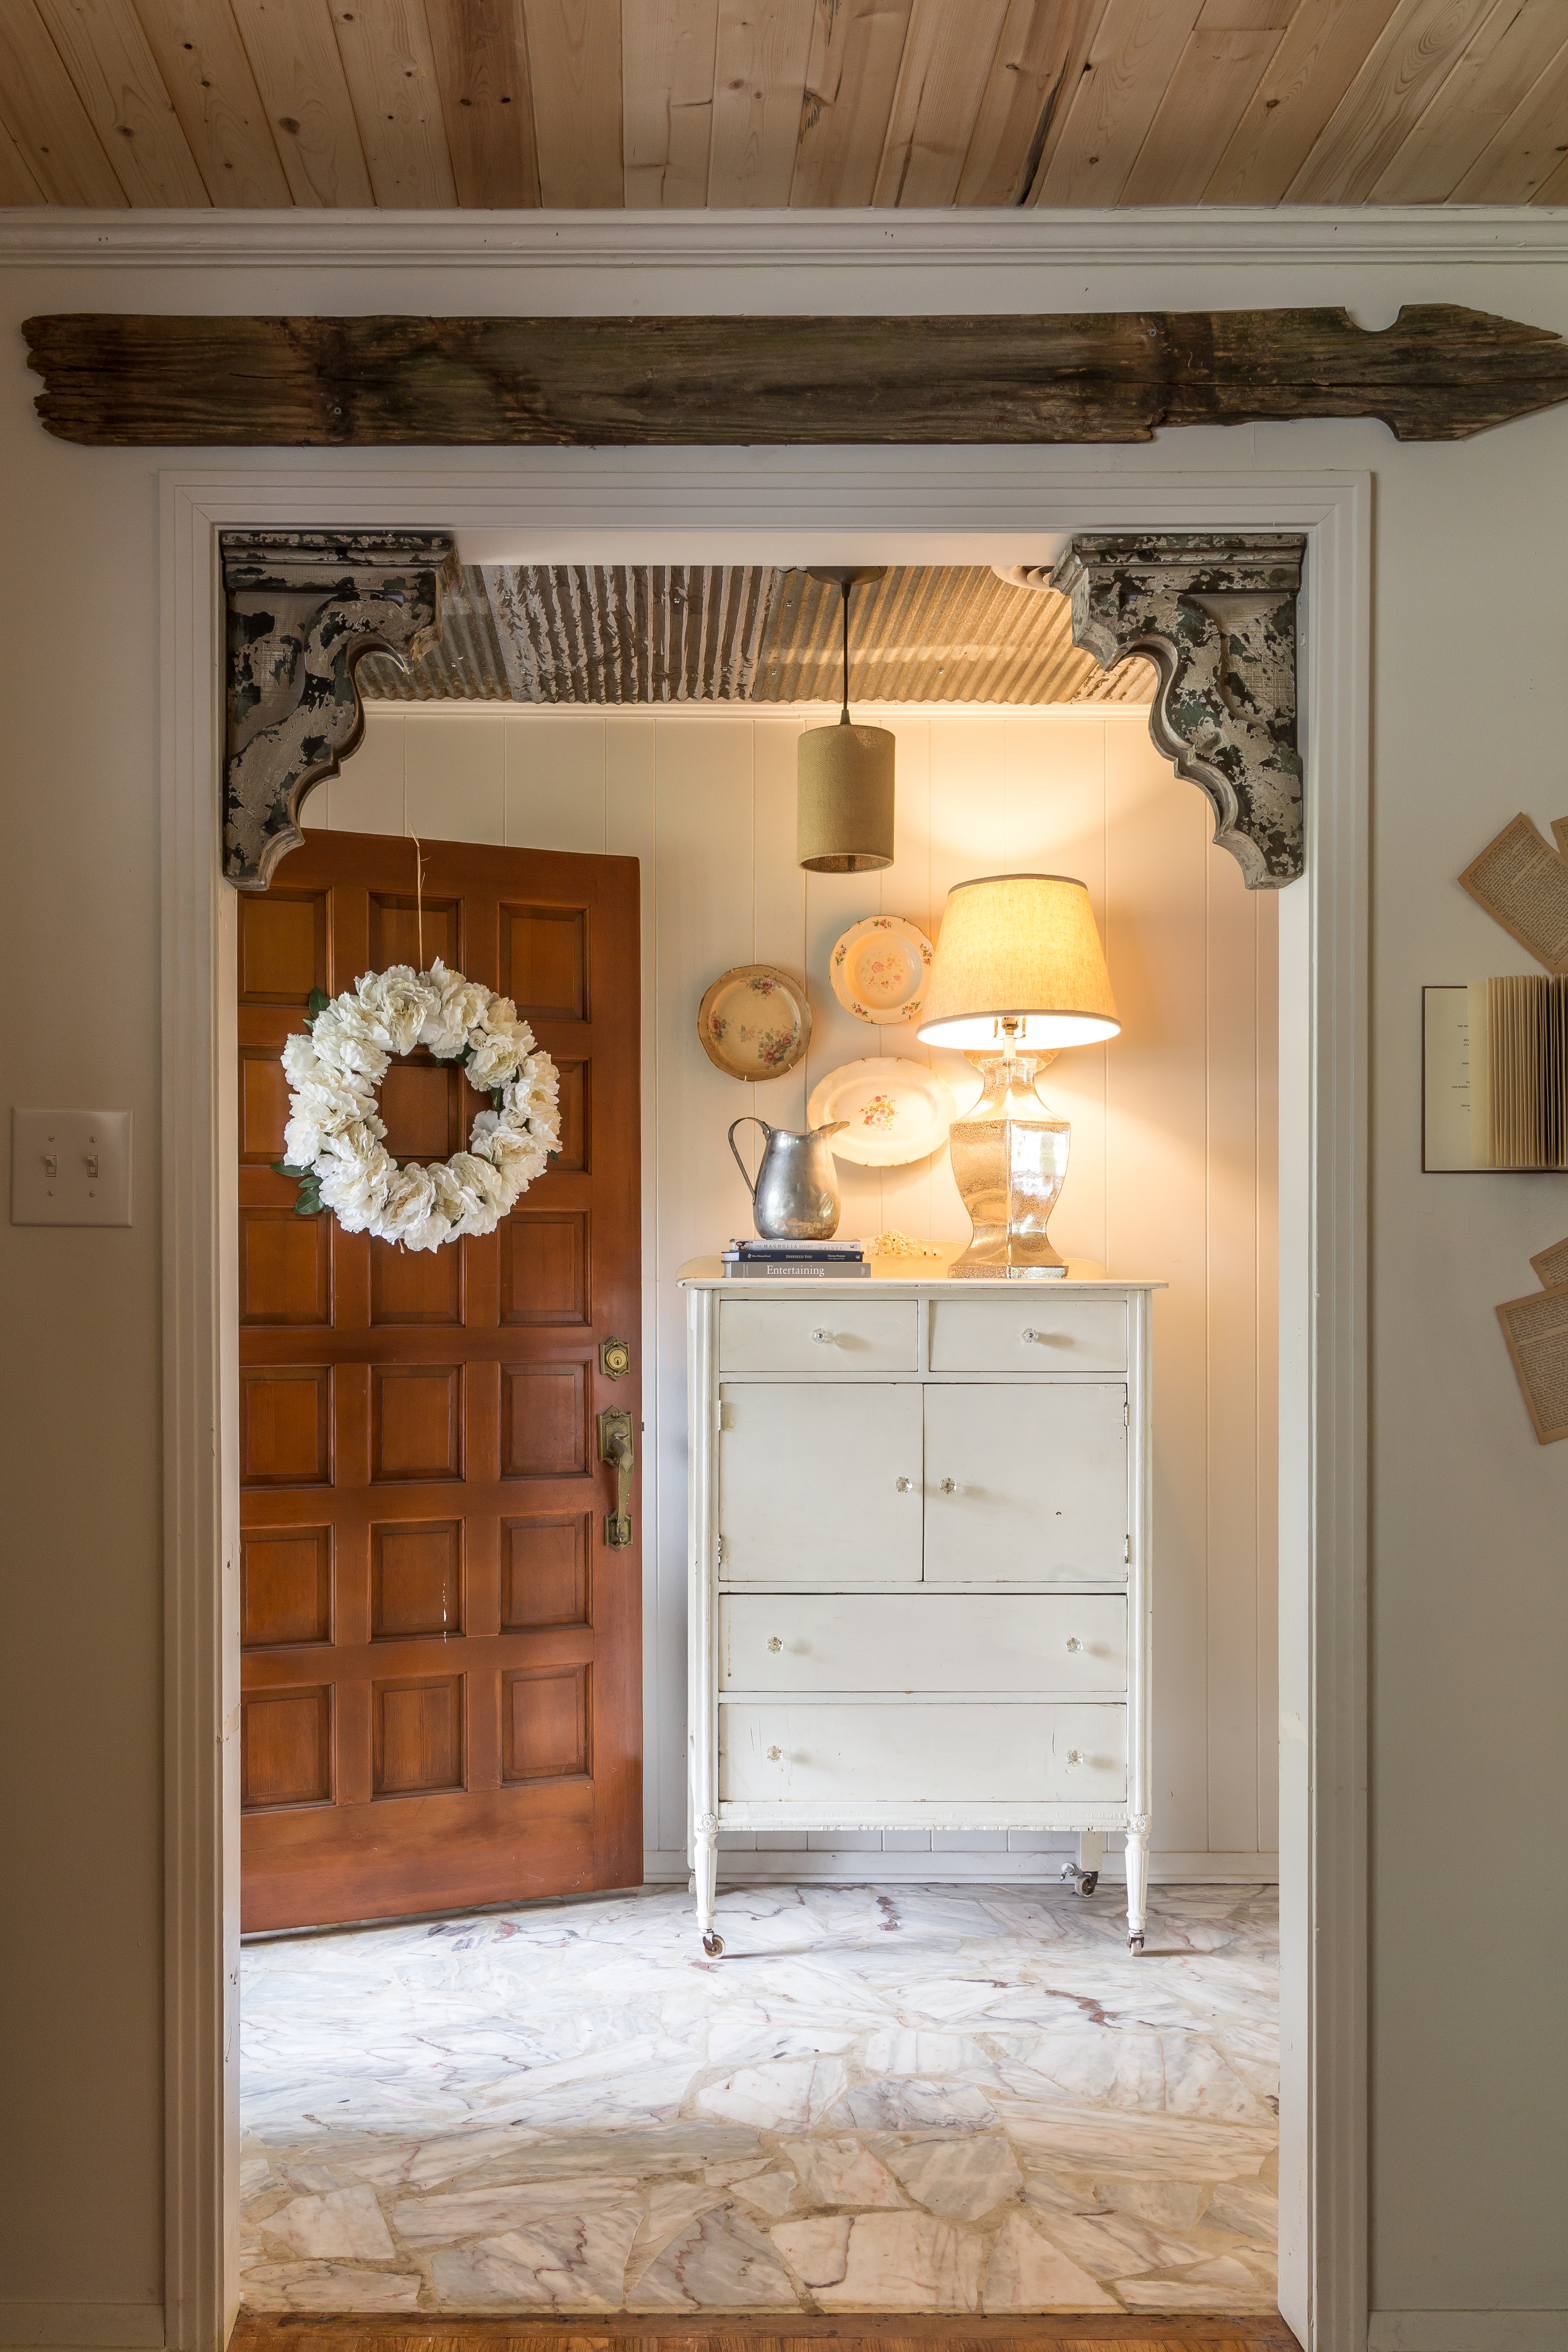
Luckily, a close friend of ours had a tree fall on an old barn and she said we were welcome to come pull some off. All of the tin was corrugated, had minimal tar on it and had rust in all the right places. We had determined to do Pine tongue and groove throughout the house, but we had just enough tin for the kitchen and the entry way.
Now I realize that doing my ceilings like this is very taste specific and it may not be everyone’s cup of tea, but we absolutely love it. We live on 8.5 acres in a very rural area and the rustic finishes we have used in our home go along with the overall aesthetic of our place.
Now onto the DIY. Like the Playhouse, which you can find here, I completed this project all by myself.
KIDDING! I kid, I kid…
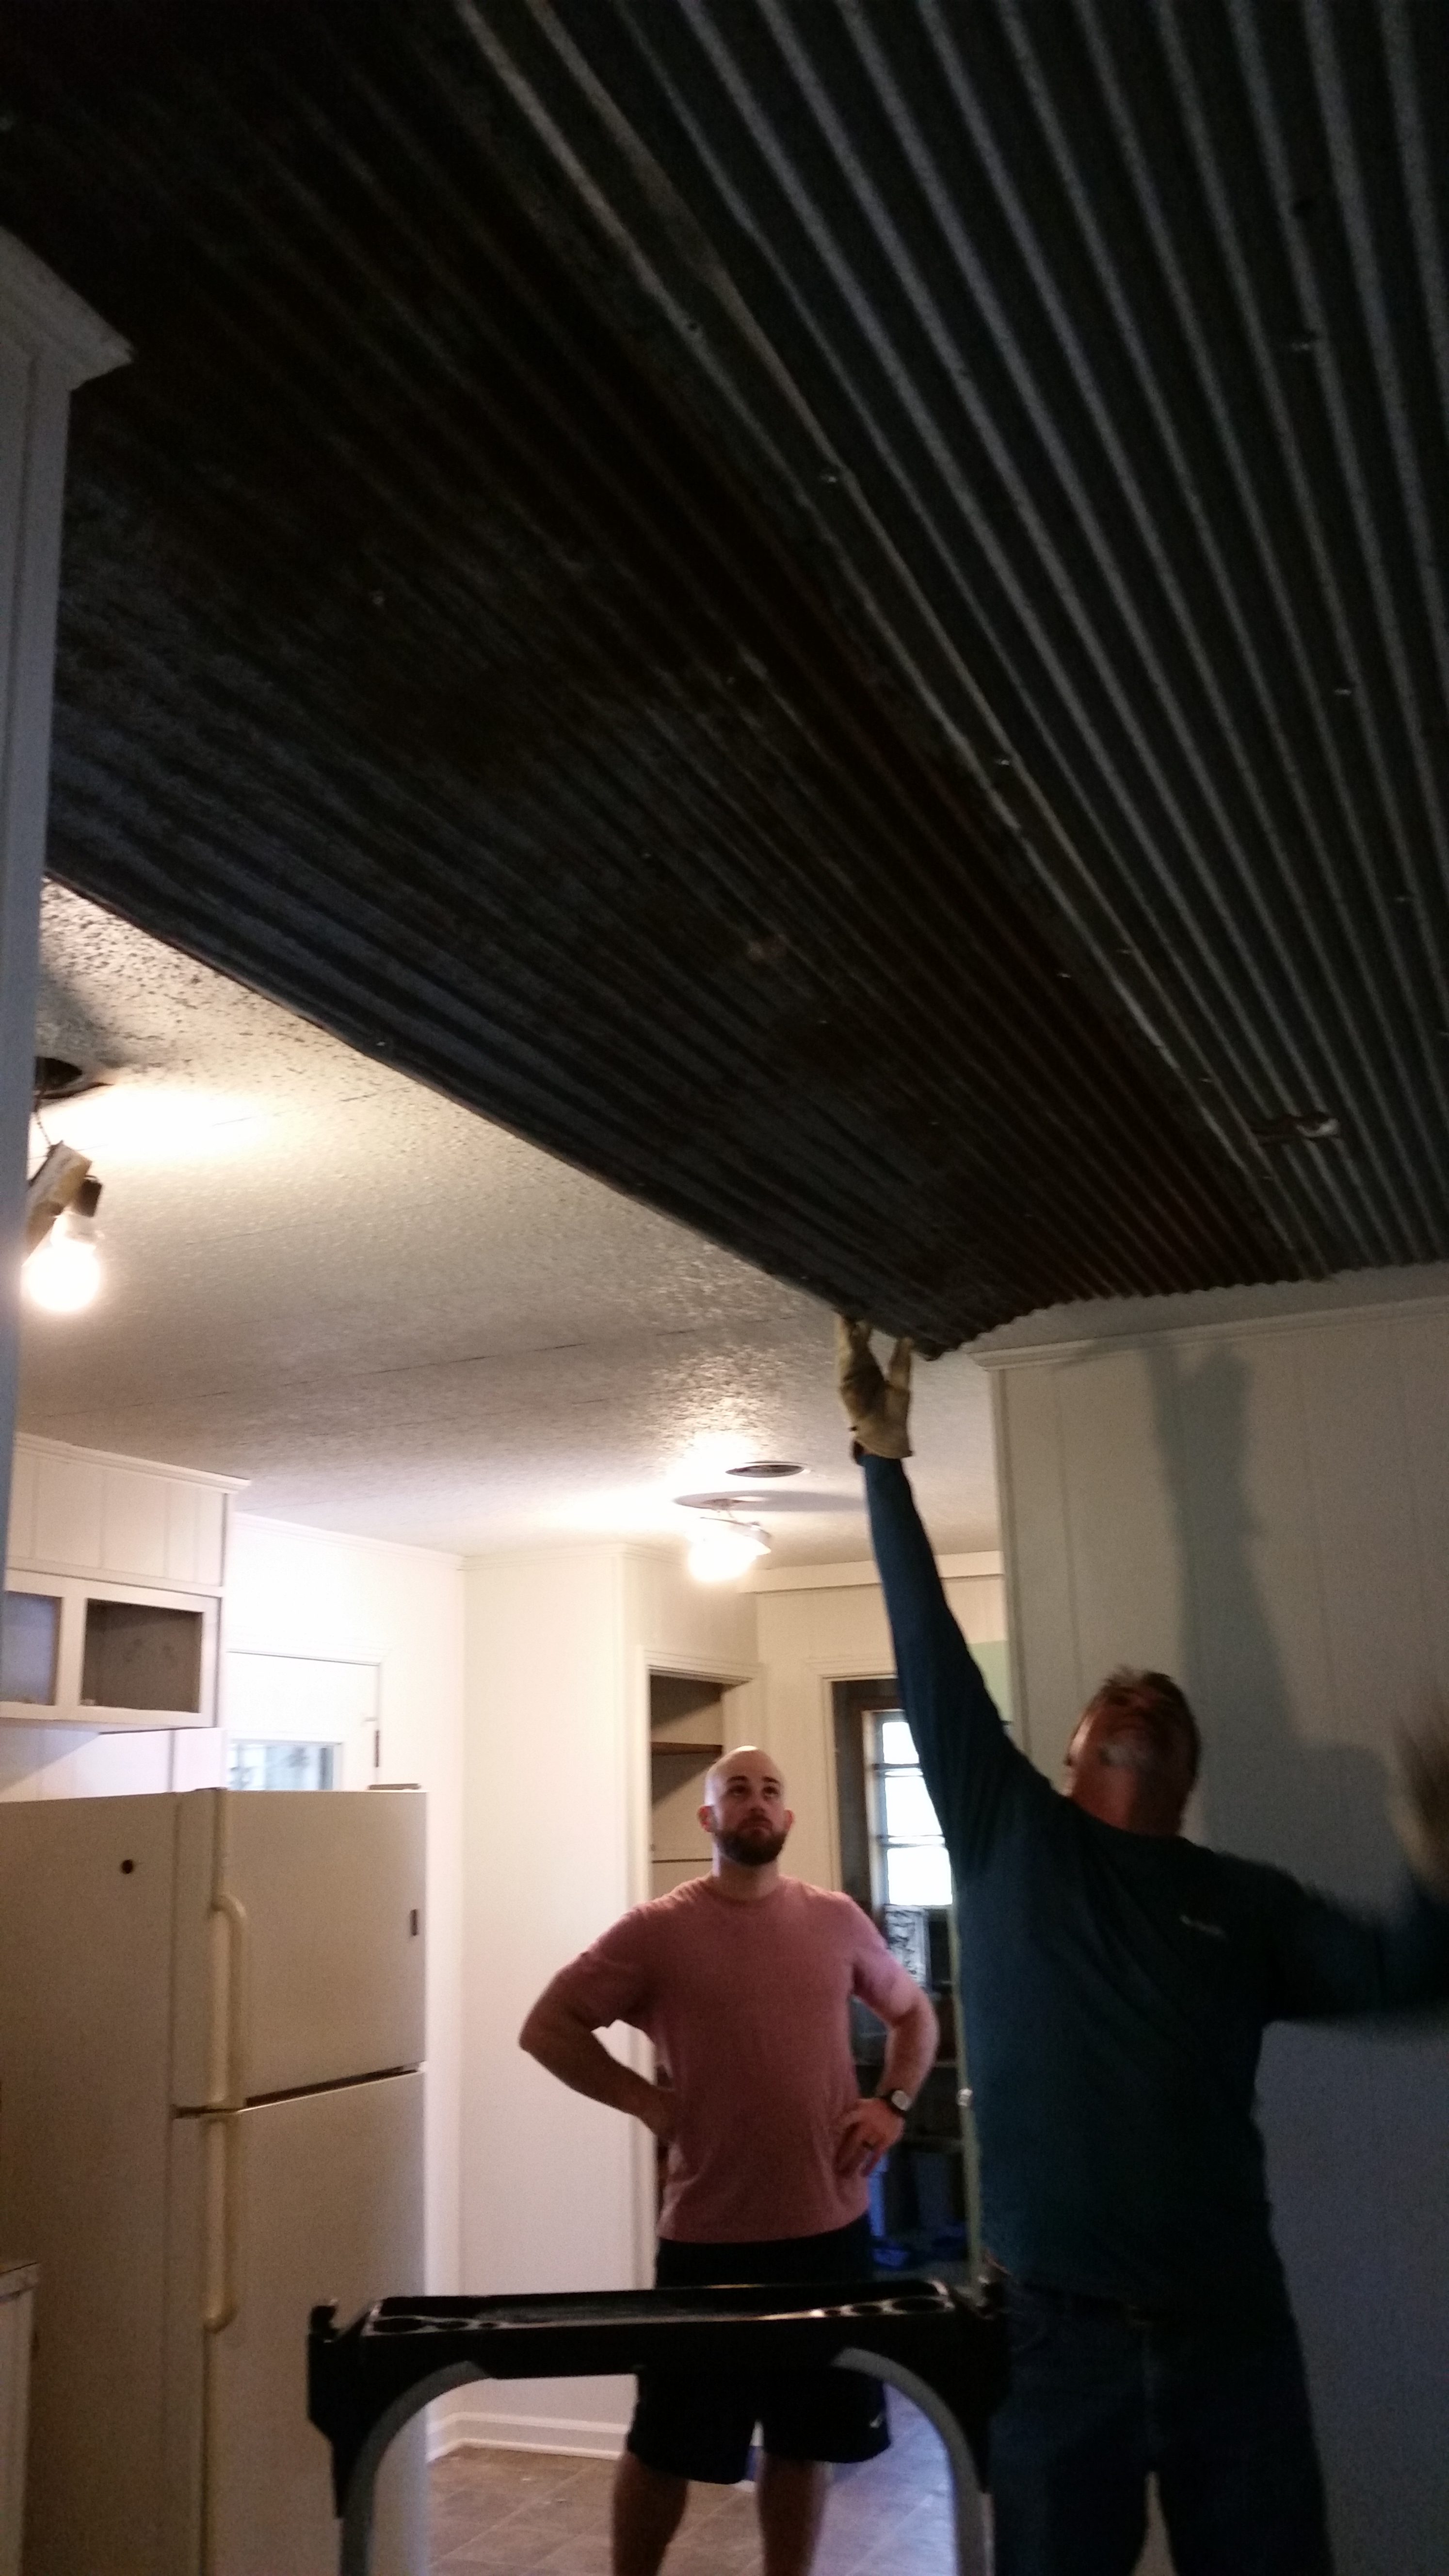
My dear husband and my Uncle completed this project in a day, truthfully. The sheets of tin are so large that they cover a great amount of space with each one. And this entire project has a total of 3 steps. THAT’S IT!
Step 1: Find your ceiling joists. This is what you are going to be screwing your tin sheets into, so first, you need to find them. This can be done with a stud finder or by using a drill.
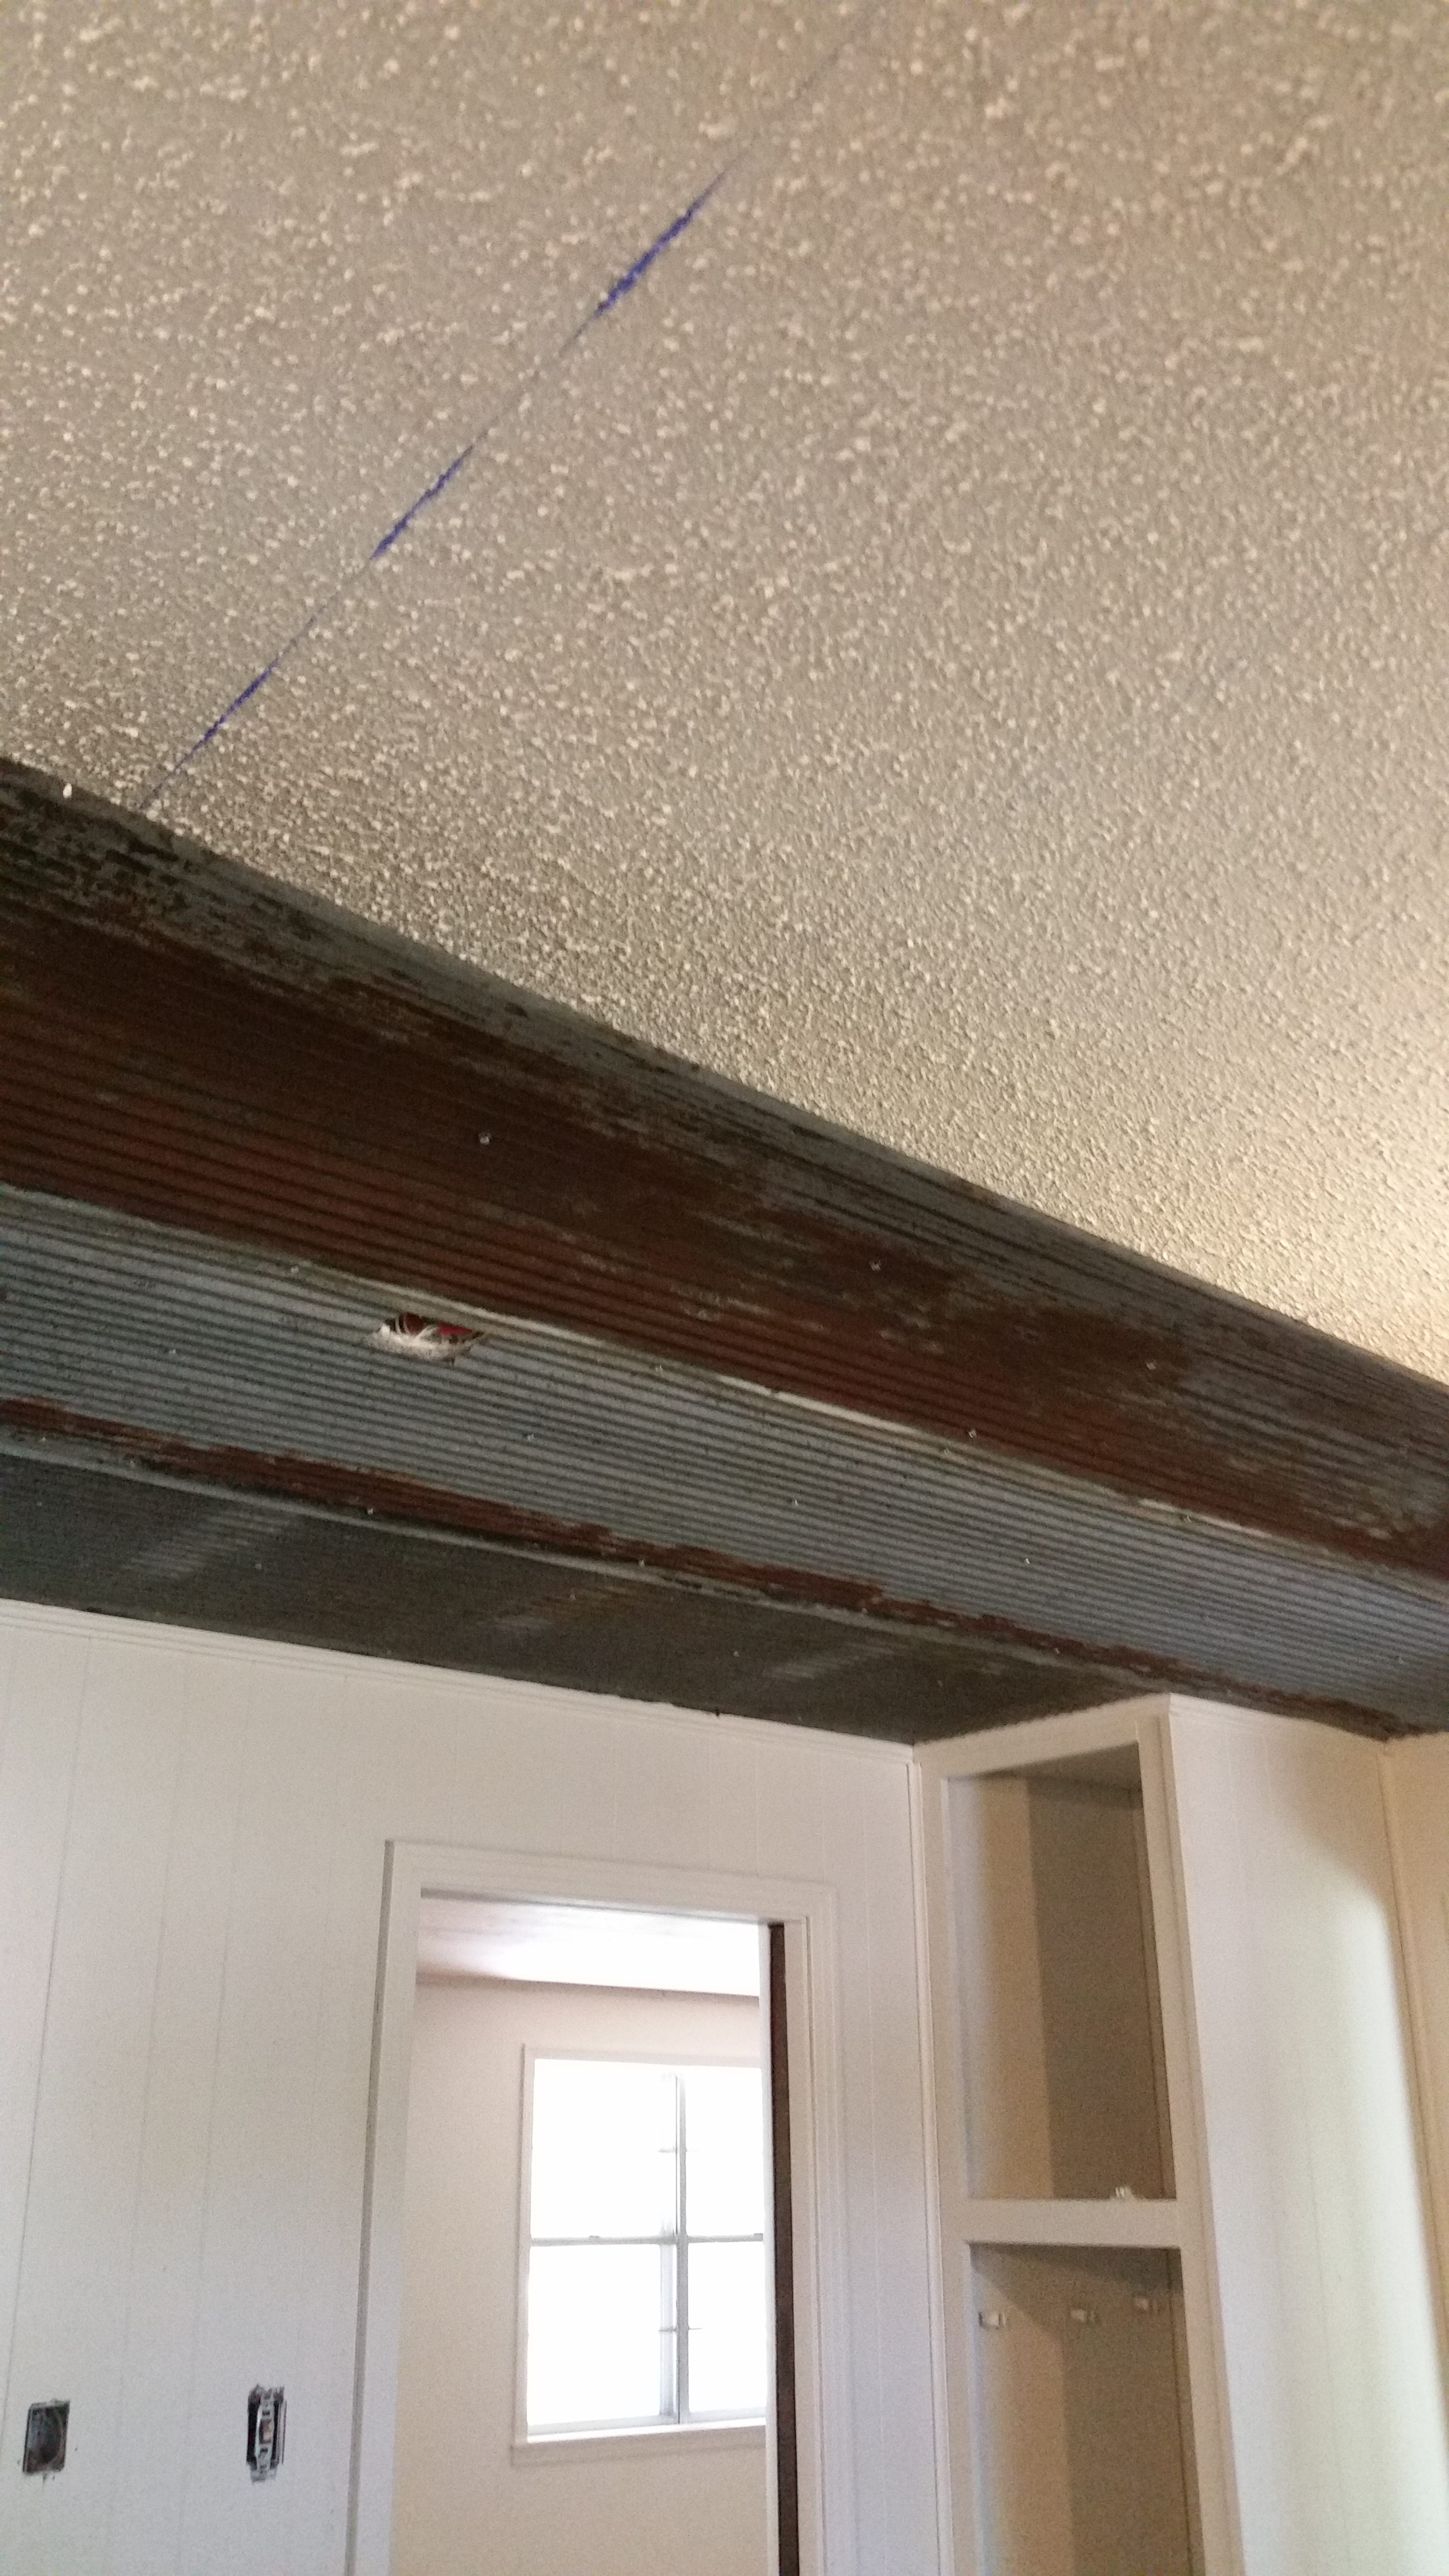
Step 2: Mark your ceiling joists. Once you have gone down the side of the room and have located your joists, you will need to use chalk to mark them. This will be important so that as you move across the room, you can still see where you will need to secure the material.
Step 3: Install the tin. As you begin to install the material, some pieces will need to be cut to fit. Similar to flooring, you may have a light fixture, a ceiling vent or a corner to deal with. We used tin snips for ours, but there are many other tools that would work as well. Once you have the cuts completed and the piece is fitted, you attach it to the ceiling joists using Self-Tapping metal screws. Any type of screw should do, but the self-tapping ones make it significantly easier to drill through the metal itself.
And that, my friends, is all there is to it! Our ceilings are always a topic of conversation and I absolutely loved using an unconventional material in our renovation. Design doesn’t have to be boring. It doesn’t have to fit inside of the walls of the “box”. It can be fun and unexpected. Most of all, it can be YOU. After all, your the one who lives there. You are the one who should enjoy your Home. So, step outside the “box” friends and let your creativity loose!
Until next time,
Tootie


I love this! I’ve been trying to find some new tin to do my kitchen. My hubby wants the small ridge tin. All we can find is the large ridge tin. I’m getting anxious!
Miss Tootie, I have been all over Millington. My sister and her children and grandchildren live in and around that area. You are lucky to be living in God’s neck of the woods. I think Millington is absolutely beautiful. You and your husband were smart to get into a fixer-upper home. Isn’t it fun to plan and execute all the sweet country touches. One day I may run into you there, as I love to visit the country and Memphis as well. You are one decorating young lady…it should be your job. I loved the ceiling.